Dropbox integration · Cloud storage
Save screen recordings to Dropbox automatically
Turn a screen recording into a finished, narrated video in Clevera, then drop the MP4 straight into Clevera’s own folder in your Dropbox, Apps › Clevera-ai, ready to share with editors and clients. No downloading, renaming or dragging files around.
Named after the video
A subfolder per collection
Never overwrites a file
Nothing is posted
What you can do
The finished file, in the folder
your team already opens.
Dropbox is where a lot of video work changes hands: an editor picks up a cut, a client reviews a deliverable, an account manager grabs the final file for a deck. Clevera puts the MP4 there for you, filed where people expect it.
Hand off without a download
Skip the export, the Downloads folder and the upload. The rendered MP4 goes straight into Clevera’s folder in your Dropbox, ready for whoever works on it next.
A folder per project, by itself
Each video’s collection becomes its subfolder, so a client’s onboarding series or a release’s tutorials end up side by side in Dropbox without anyone sorting them.
One click, several Dropboxes
Connect your own Dropbox and a colleague’s, tick both and save once. Each account gets its own copy and its own status.
Send it before the render is done
Click Save while the video still needs rendering. Clevera renders it first and the file goes to Dropbox on its own when the render finishes.
Earlier versions stay put
Saving a new version never replaces the old file. Dropbox keeps both and adds a number to the new name, so a client’s approved cut is never lost.
Its own folder, nothing else
Clevera works only inside its app folder, Apps › Clevera-ai. It can’t see or open anything else in your Dropbox, and it doesn’t create links or post anything, so the video stays private until you share it.
How it works
From recording to Dropbox
in four steps.
An owner or admin connects Dropbox once. From then on, anyone who can edit a video can save it to that Dropbox from the Share window.
- 1
Connect Dropbox
Sign in with Dropbox from Clevera’s Integrations page and allow access. Add more Dropbox accounts the same way. - 2
The details fill themselves
Open Share, then Publish, and tick the account. The file name is the video’s title and the subfolder is its collection. - 3
Check the path and save
The preview shows the full Dropbox path. Change the folder if you like, then click Save to Dropbox. - 4
It lands in the folder
The MP4 appears in Dropbox and the row in Clevera reads Saved to Dropbox, with a link that opens the file.
See it in Clevera
You see the path
before anything is saved.
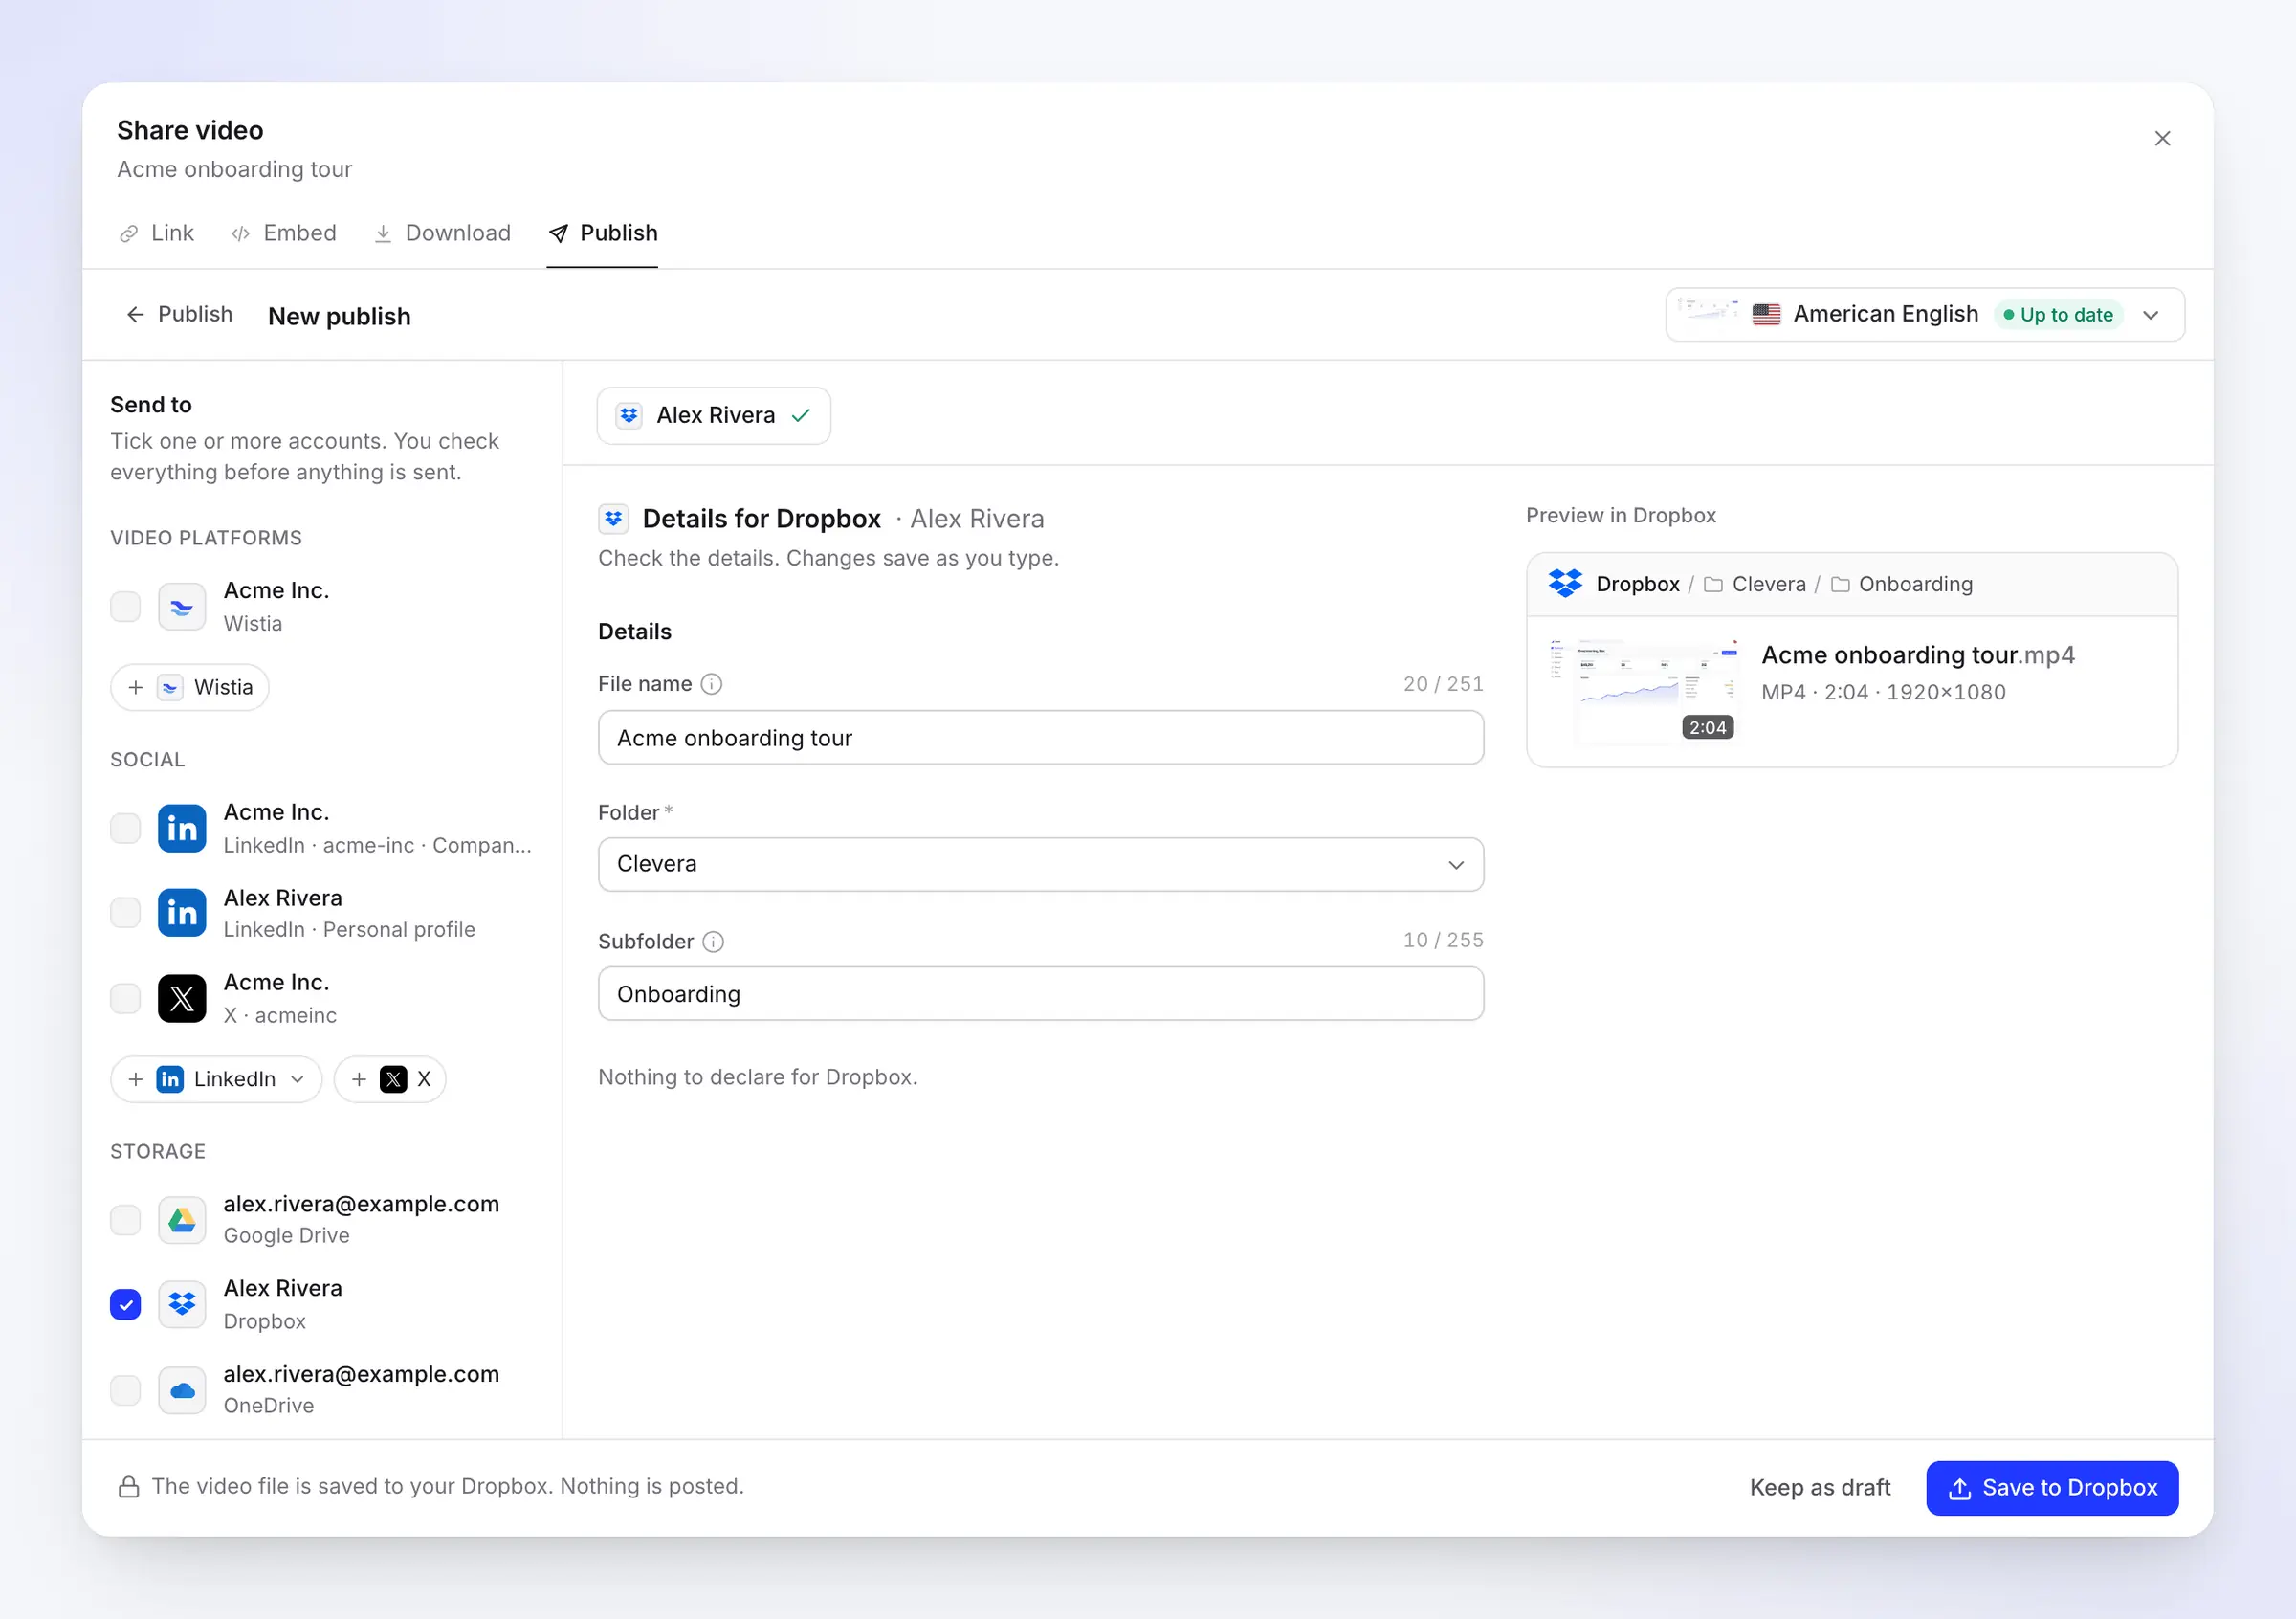
The Publish window shows the three fields on the left and a preview of the file in Dropbox on the right: the folder trail, the file name, the length and the resolution.
File name, folder and subfolder, filled in
The file name starts as the video’s title, in the language of the render you’re sending. The folder starts as Clevera, created on the first save inside Clevera’s app folder (Apps › Clevera-ai in your Dropbox), and the subfolder is the video’s collection.
Edit any of them and the change saves as you type. Clevera adds .mp4 for you, and the bar at the bottom spells it out: the video file is saved to your Dropbox, and nothing is posted.
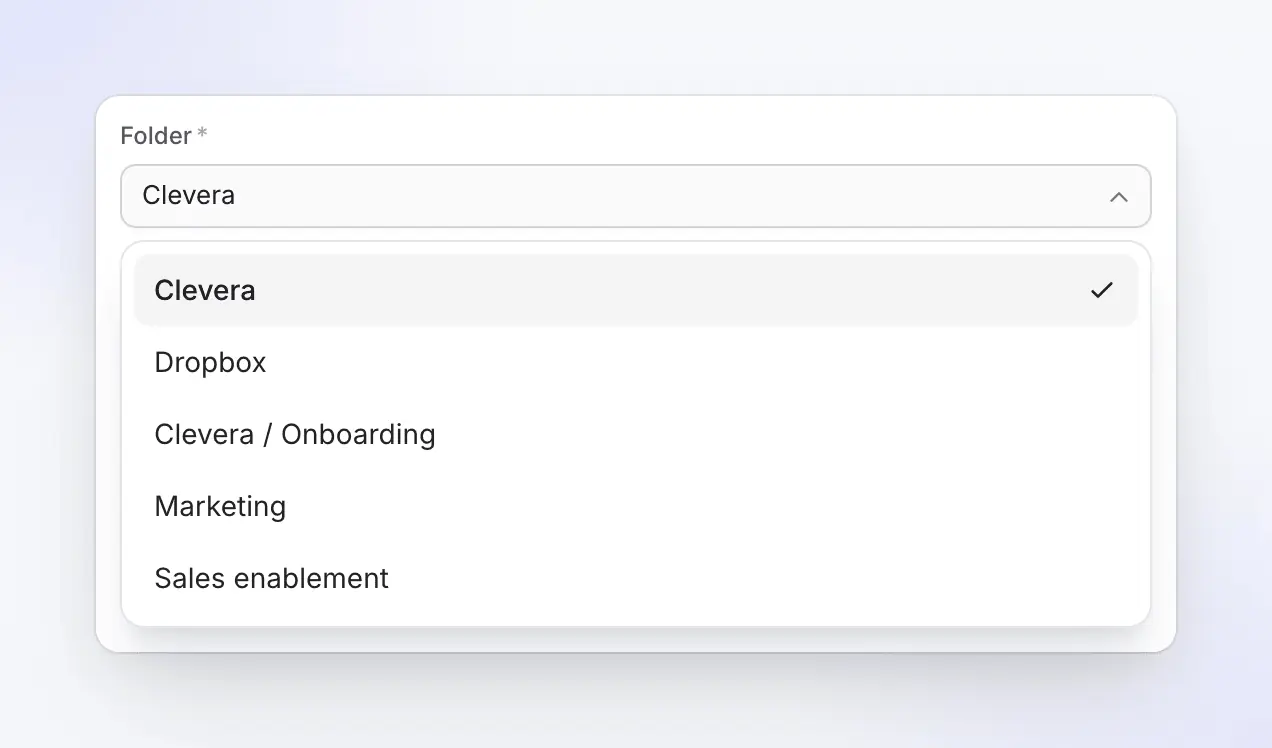
Pick a folder in Clevera’s app folder
Dropbox gives Clevera one folder of its own, Apps › Clevera-ai, and the Folder list shows the folders inside it. Make one there per team or client, such as Marketing or Sales enablement, and share it from Dropbox with the people who work from it. Clevera can’t see the rest of your Dropbox, which keeps your other files private.
Clevera remembers the folder per account for next time. The list refreshes about once an hour; a folder you made a minute ago can also be typed into Subfolder.
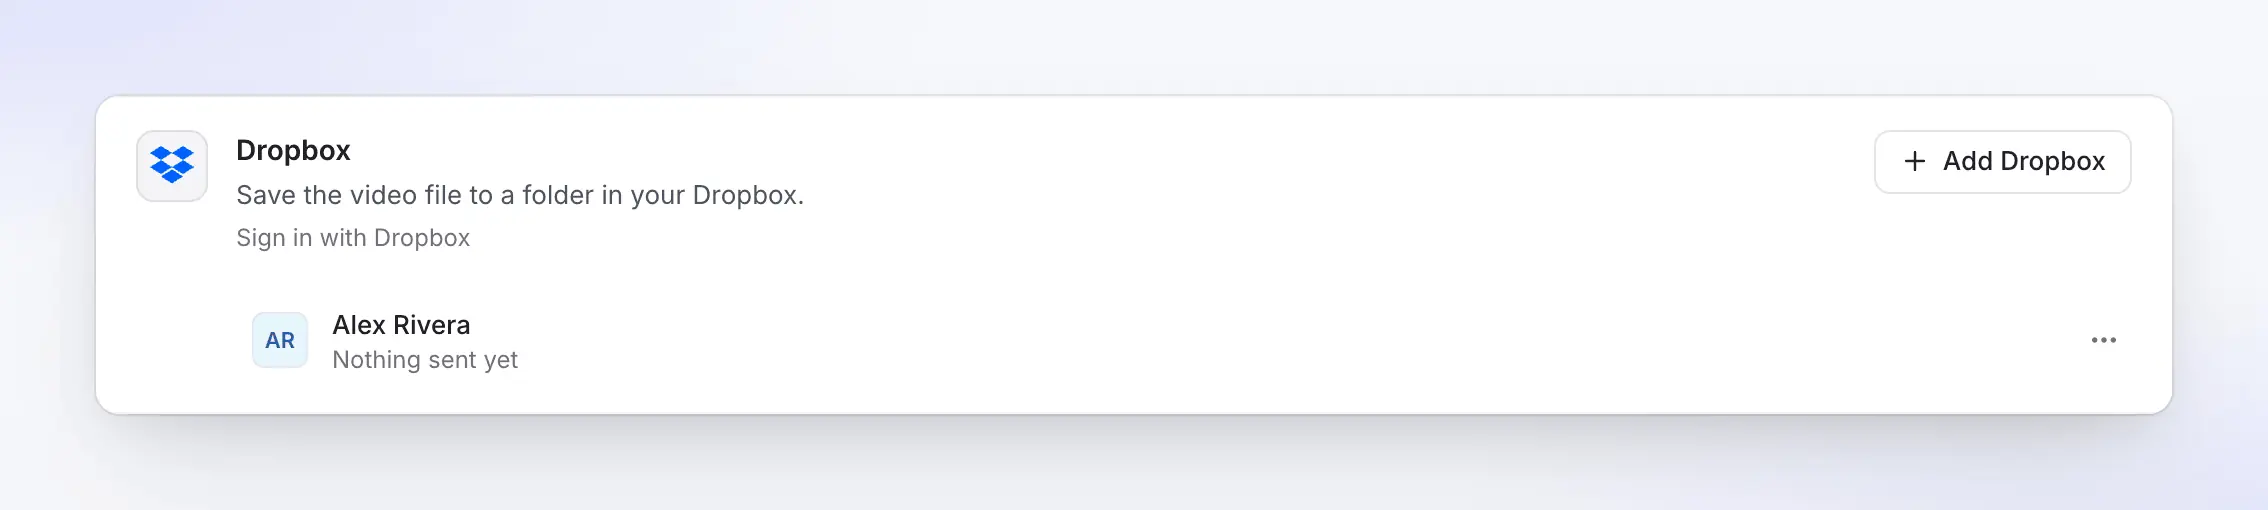
Every Dropbox in one place
The Integrations page lists each connected Dropbox with what it has received, from “Nothing sent yet” to how many videos went there and when. Add another account with one click.
Connected accounts belong to the workspace, so the whole team saves to the same Dropbox without passing passwords around.
Built for handoff
Who opens the folder next
and what they find there.
Clevera saves into its own folder in your Dropbox; Dropbox’s own sharing does the rest. Share a folder once, and every video saved into it reaches the people who need it.
Editors
The cut, ready to pick up
Clients
Deliverables, filed by project
Your team
An archive that sorts itself
Filled in for you
What Clevera fills in
and what you can change.
Dropbox needs a name and a place. Clevera fills both from the video itself, with no AI writing, and checks them against Dropbox’s rules before sending.
- File nameSet for you
- The video’s title, up to 251 characters (255 with
.mp4). Leave it empty to use the title. Dropbox refuses/ \ < > : " | ? *in names, so Clevera replaces them when it saves. - FolderYou choose
- Clevera (the default, created on the first save), the top of Clevera’s app folder (Apps › Clevera-ai), or a folder inside it. Remembered per account.
- SubfolderSet for you
- The video’s collection, created inside the folder if it isn’t there yet. Clear it to save straight into the folder. A video outside any collection has no subfolder.
- Same nameHandled for you
- Never overwritten. If the name is taken, Dropbox keeps both files and saves the new one as, for example,
Acme onboarding tour (1).mp4. - SharingYou choose
- Left to you. Clevera doesn’t create a share link; share the file or its folder from Dropbox.
Setup
Set up the Dropbox integration
in about two minutes.
You need a Clevera workspace on the Pro or Custom plan. A workspace owner or admin connects Dropbox; after that, anyone who can edit a video can save it there.
- 1
Open Integrations
In Clevera, open Integrations from the sidebar. Dropbox is listed under Storage. - 2
Connect and allow
Click Connect, sign in to Dropbox and click Allow. Dropbox lists exactly what Clevera asks for: your account name, plus folder names and permission to add files inside its own app folder, Apps › Clevera-ai. - 3
Open a finished video
In the video, click Share, open Publish and click Publish…. Tick the Dropbox account under Storage. - 4
Save it
Check the path in the preview and click Save to Dropbox. Or click Keep as draft to finish later. - 5
Open it in Dropbox
When the row says Saved to Dropbox, click Open in Dropbox to see the file in its folder, then share it however you like.
Dropbox integration questions
Connect Dropbox on Clevera’s Integrations page, then click Save to Dropbox in a video’s Publish window. The file is named and filed for you, and if the video isn’t rendered yet, Clevera renders it and saves the file as soon as the render finishes. The Dropbox guide walks through each screen.
No. Clevera’s access is limited to its own app folder, Apps › Clevera-ai, so it can’t see, list or open anything else in your Dropbox. Inside that folder it adds files and reads folder names, to list them in the picker and check that a saved file arrived.
Never. If a file with the same name is already in the folder, Dropbox keeps both and adds a number to the new one. Clevera also never changes a file after saving it.
Yes, through Dropbox. Clevera saves the file privately; share the file, the Clevera folder or a collection’s subfolder from Dropbox, and everything saved there later reaches the same people.
Not directly. Clevera saves only inside its app folder, Apps › Clevera-ai, in the Dropbox you connected. To get videos to your team, share a folder from there or move the file after it’s saved.
Clevera connects as an App-folder app: Dropbox gives it one folder, Apps › Clevera-ai, and Clevera can’t reach anything outside it. Everything Clevera saves lands there, and you can move or share those files like any others.
Dropbox accepts uploads of up to 350 GB, far more than a rendered Clevera video. Your Dropbox needs enough free space for the file; if it’s full, the save stops with a message and a Retry button.
Saving to Dropbox uses no credits, and rendering is free too. Publishing to platforms and storage is part of the Pro and Custom plans; see pricing.
Record it once. It’s in the Dropbox folder.
Clevera turns your screen recording into a narrated video and files the MP4 in its own Dropbox folder, ready to share with your editors and clients.