GitLab integration
Turn screen recordings into Markdown docs in GitLab
Record a workflow once. Clevera writes the illustrated guide and commits it to the GitLab project and folder you choose, as a Markdown file with its screenshots, so your docs-as-code pipeline picks it up like any other change.
GitLab-flavored Markdown
Screenshots committed to the project
Works with GitLab Pages and MkDocs
No credits to publish
What you can do
Docs as code,
without anyone writing the docs.
Teams that run on GitLab already treat documentation like code: it lives in a project, it has history, and a pipeline publishes it. The hard part was never the pipeline. It was writing the guides. Clevera writes them from a screen recording and drops them into the folder your pipeline reads.
A guide from every walkthrough
Show the feature once on screen. Clevera turns the recording into a written how-to with numbered steps and screenshots, ready for the project handbook or the product docs.
Your pipeline does the rest
Each publish is a normal commit on the default branch, so GitLab Pages, MkDocs or Hugo rebuild the site exactly as they would for a teammate’s change.
Images that live in the project
Screenshots are committed next to the Markdown file and linked by relative path. They don’t depend on Clevera, and a private project keeps them private.
Updates as readable commits
Fix the article in Clevera and publish again. The same file and its images are overwritten in an “Update article” commit, so the history shows what changed and when.
Any project, any folder
Pick from every GitLab project where the connected account is Developer or higher, and type the folder: docs, handbook/support or the project root.
Plays by your branch rules
Clevera respects protected branches. If only Maintainers may push to main, connect a Maintainer account or allow Developers to push.
How it works
From recording to GitLab project
in four steps.
An owner or admin connects GitLab once. After that, anyone who can edit an article publishes it from the editor.
- 1
Connect GitLab.com
Sign in to GitLab and authorize Clevera. It lists the projects where your account is Developer or higher. - 2
Clevera writes the guide
From the screen recording, Clevera writes the help article: headings, numbered steps, callouts and screenshots. - 3
Choose project and folder
In Share, open Publish, pick the GitLab project and the folder, and click Publish to GitLab. - 4
One commit lands
The Markdown file and its images arrive together in one commit on the default branch, and your pipeline runs.
See it in Clevera
Publishing to GitLab,
from the article’s Share window.
No exporting, no copying Markdown by hand, no dragging screenshots into a repository. The Share window that gives you a link and an embed code also commits to GitLab.
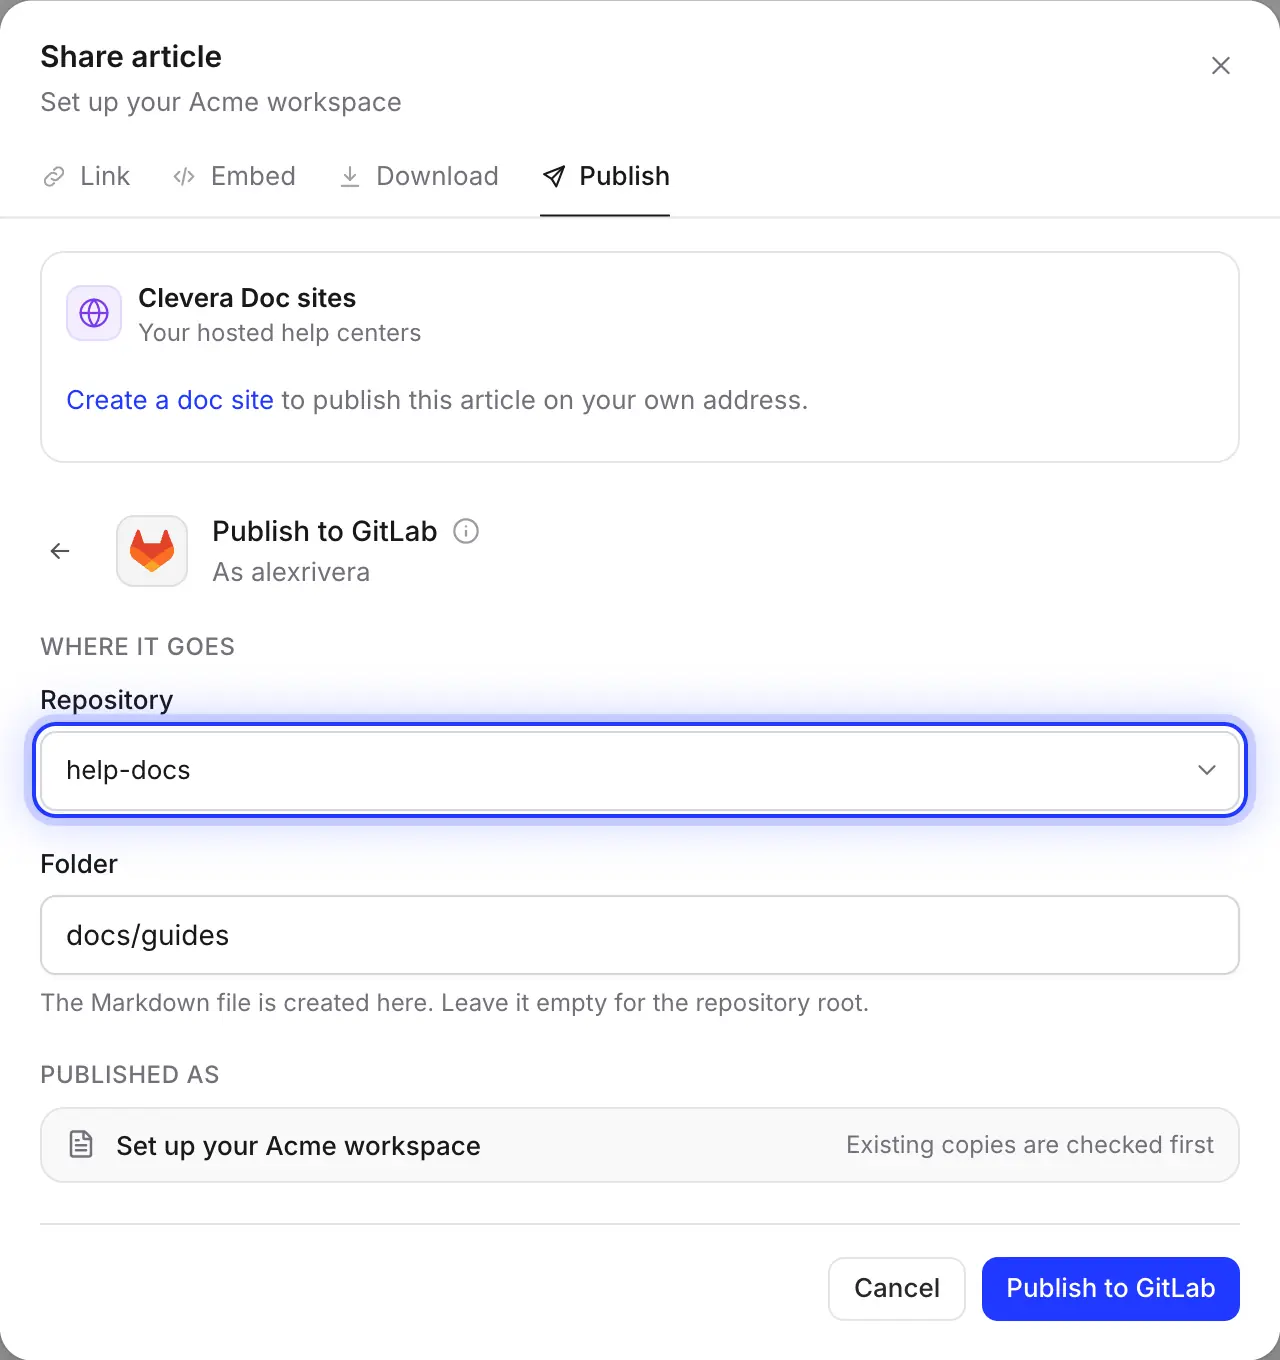
Pick the project and the folder
The list shows the projects where the connected GitLab account is Developer or higher, most recently updated first. Type the folder your docs live in, such as docs/guides; folders that don’t exist yet are created in the same commit.
Clevera remembers the project and folder, so the next article goes to the same place.
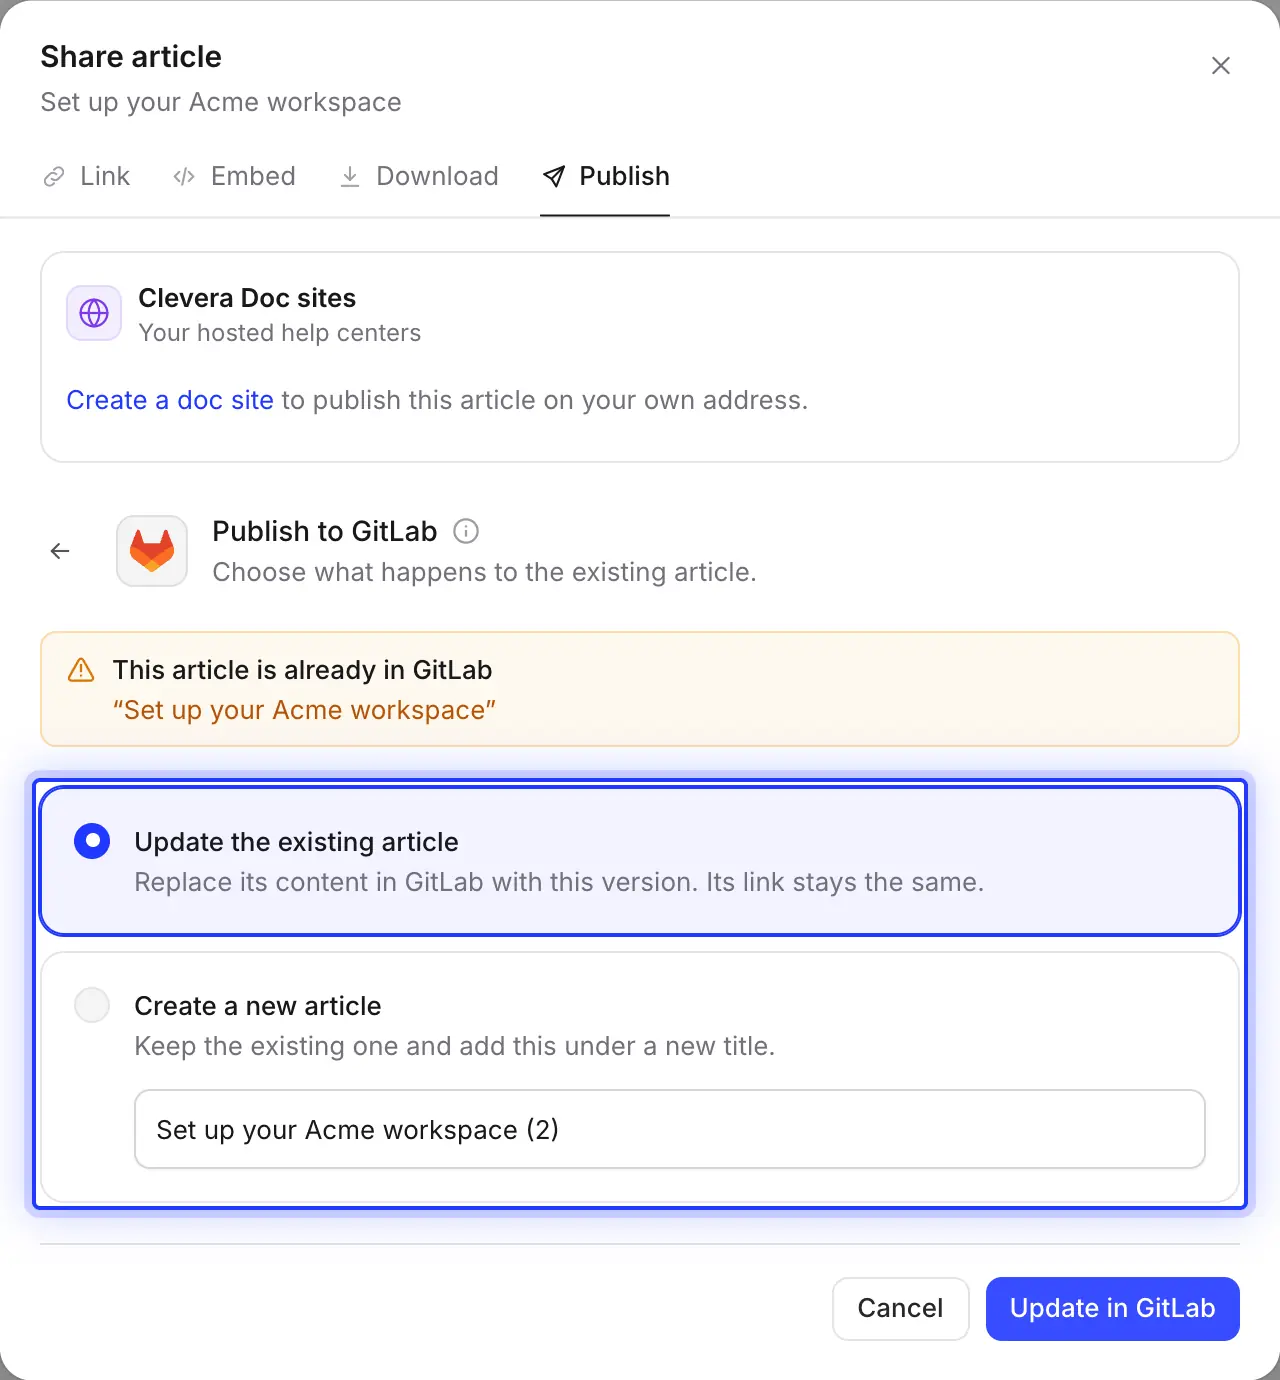
Republish without duplicate files
Before it writes, Clevera looks for a file with the same name in that folder. If it finds one, you choose: overwrite it in a new commit, or keep it and publish this version under a new title.
Publishing only goes one way. An edit someone makes to the file in GitLab never flows back into the Clevera article.
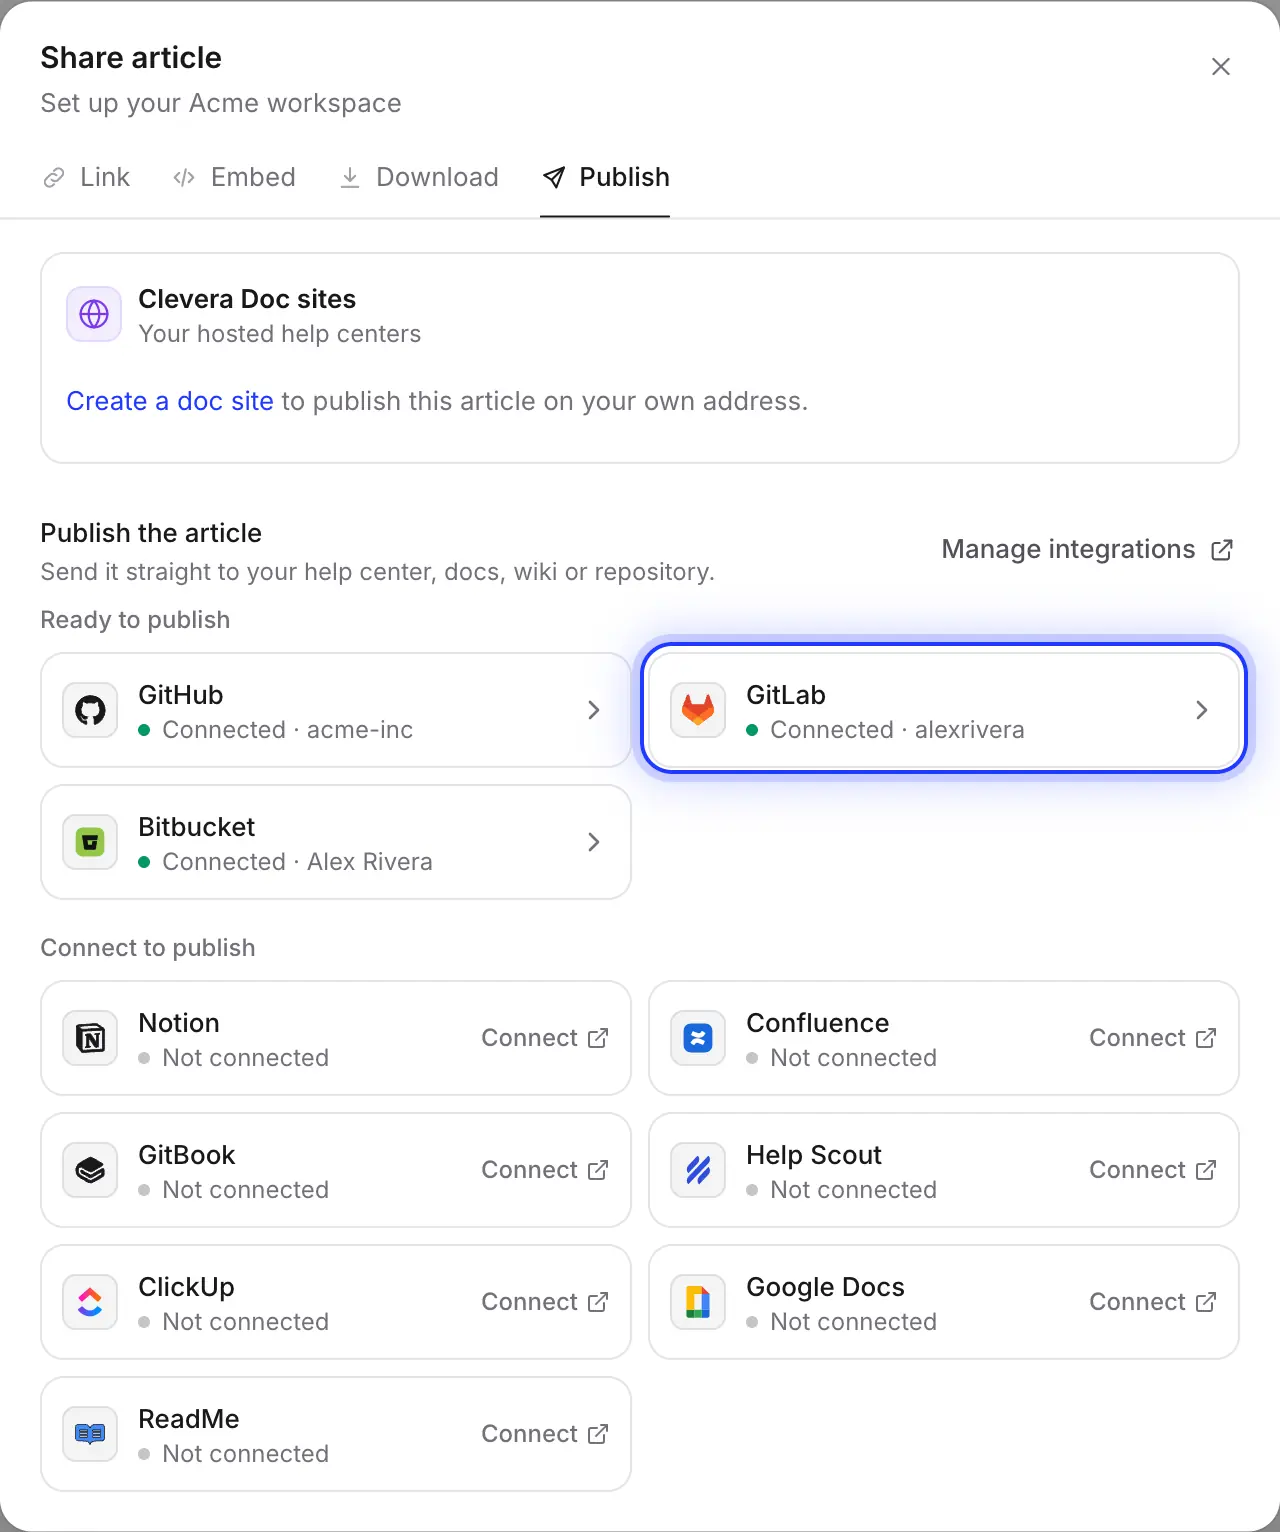
GitLab next to the rest of your stack
Some teams keep product docs in GitLab and the internal wiki somewhere else. Connect each tool once and publish the same article to GitLab, Confluence or Notion from the same tab.
Filled in for you
What each commit contains
and what you decide.
Clevera writes Markdown that GitLab renders in its file view and that static-site generators build cleanly. Here is exactly what a publish puts in your project.
- Project and folderYou choose
- Any GitLab.com project where the connected account is Developer or higher, and any folder in it. The folder starts as
docs; leave it empty for the project root. - File nameSet for you
- The article’s title in lowercase with hyphens, ending in
.md. “Reset a customer password” becomesreset-a-customer-password.md. Accented and non-Latin titles are spelled in Latin letters, and names are cut at 80 characters. - Front matterSet for you
- A YAML block with
title,created_at,updated_atandsource. MkDocs, Hugo and Docusaurus read the title and ignore the rest. - Callouts and formattingConverted for you
- Callouts become GitLab alerts with their title on the same line, such as
> [!WARNING] Careful. Tables, task lists, math, fenced code with its language and collapsible<details>sections come through as GitLab renders them. - ScreenshotsSet for you
- Committed to
assets/<file name>/in the same folder, in the same commit, with each caption in italics under its image. - CommitSet for you
- One commit on the default branch with the message
Add article: …orUpdate article: …, authored by the GitLab account that connected Clevera. - VideosSet for you
- A video placed inside the article becomes a poster image that links to its player, plus a ▶ link with its title. The recording the article came from isn’t added.
Setup
Set up the GitLab integration
in about two minutes.
You need a Clevera workspace on Pro or Custom and a GitLab.com account. The workspace owner or an Administrator connects GitLab; after that, anyone who can edit an article can publish it. Publishing uses no credits.
- 1
Open Integrations
In Clevera, open the workspace menu, choose Integrations, find GitLab under Code repositories and click Connect. - 2
Authorize Clevera on GitLab.com
GitLab asks for the api, read_user, read_repository and write_repository scopes, which its file API needs to create and update files. Click Authorize. - 3
Check the role
Use an account that is Developer or higher in each project. To commit to a protected default branch it usually needs Maintainer; a shared bot account works well. - 4
Publish an article
In the article editor, click Share, open Publish, click the GitLab tile, pick the project and folder, and click Publish to GitLab. - 5
Open it in GitLab
When you see “Published to GitLab.”, click Open in GitLab to see the file and the commit.
GitLab integration questions
Not today. Clevera connects to GitLab.com only. Self-managed GitLab servers aren’t supported, so a project on your own GitLab instance can’t be a publish target.
No. Clevera commits straight to the project’s default branch, usually main, and you can’t pick another branch. If your team reviews docs in merge requests, review the article in Clevera before you publish, or publish to a project where direct commits are allowed.
Almost always a protected branch. GitLab protects the default branch and usually lets only Maintainers push to it. Give the connected account the Maintainer role, or allow Developers to push under Settings → Repository → Protected branches.
Yes. Point the folder at the one your site builds from. Each publish is a normal commit, so your CI/CD pipeline runs as usual, and the generator reads title from the front matter. Check that your theme renders alerts and collapsible sections.
Nothing changes in GitLab until you publish again. Then Clevera finds the existing file and lets you update it in a new commit. If you renamed the article, the new title becomes a new file; delete the old one in GitLab yourself. Clevera never deletes files from your project.
A workspace holds one GitLab connection, and connecting again replaces it. Use an account that is a member of every project you publish to.
Publishing to GitLab is part of the Pro and Custom plans, and publishing uses no credits. Making the article itself uses credits as usual. See pricing.
Yes. Connect each tool once and publish the same article to as many as you like. See the GitHub and Bitbucket integrations, or every integration.
Your next guide, already in the project.
Record it once. Clevera writes the guide and commits it to GitLab, screenshots and all.