Clevera for Linux, and a redesigned recorder for Mac and Windows
Clevera now has a screen recorder for Linux, and a redesigned app for Mac and Windows: display, window or area capture, iPhone recording on Mac, and uploads that never lose a take.
 Berkay Akpolat8 min read
Clevera now has a screen recorder for Linux, and the Mac and Windows apps have a new design. If you record walkthroughs, demos or help content, you get the same recorder on all three platforms: pick what to record, add your voice and camera, press Start, and the recording goes straight to your Clevera workspace, where it becomes a narrated video and a step-by-step article.
The redesigned Mac and Windows apps shipped on October 31. Clevera for Linux follows on November 1, with AppImages for Intel/AMD and ARM64 computers.
What does the desktop app capture that a screen video doesn't?
A plain screen video tells Clevera what was on the screen. The desktop app also notes where you clicked, how the cursor moved and what you typed, as separate data next to the video. That is what Clevera uses to zoom in on each action automatically and to write a guide with the right screenshot for every step. The pointer itself is not baked into the video, so the editor can draw it cleanly and follow it.
If you want the bigger picture of what happens after you press Stop, read how one walkthrough becomes a full guide.
What's new in the recorder on Mac and Windows
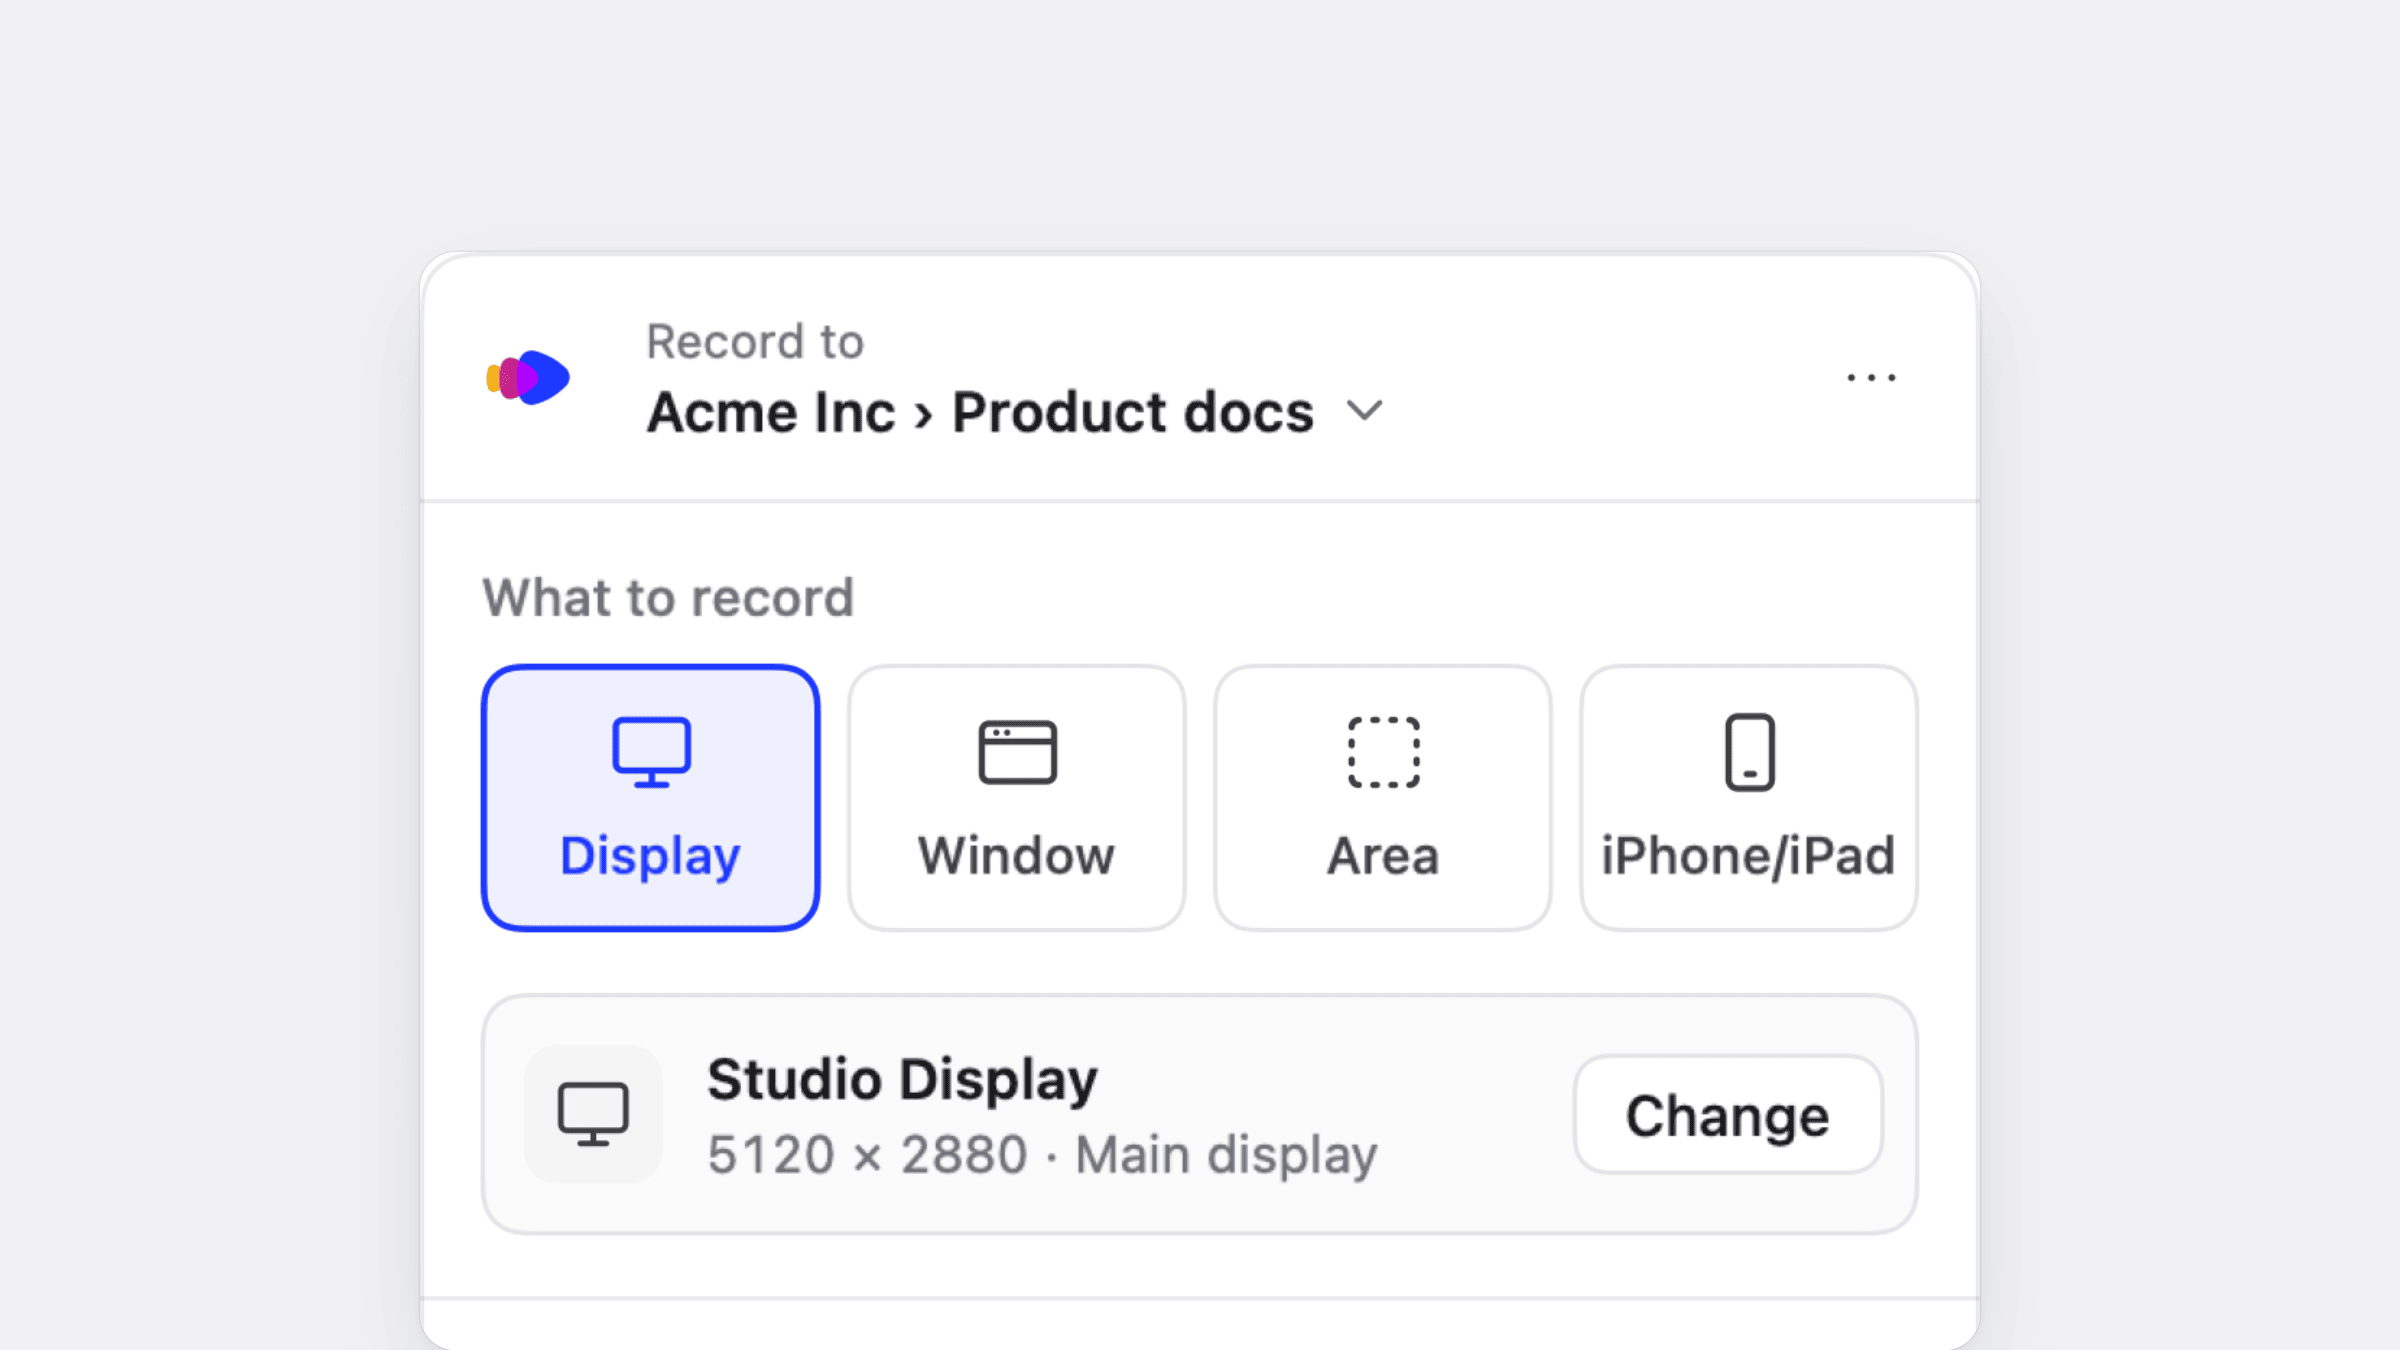
Open the recorder from the Clevera icon in the menu bar (Mac) or the notification area (Windows). Under What to record, choose Display, Window or Area:
- Window gives you a searchable list of open windows and resize presets, so a browser lands at a clean size such as 1920 × 1080 before you start.
- Area lets you draw the part of the screen you want. Arrow keys nudge the selection, and presets like 1280 × 720 set an exact size.
Under Audio and camera, pick your microphone (with a live level meter), a camera, and the System audio switch for sound from apps and videos. On a Mac, system audio needs macOS 13 or later. It gets its own track only when it won't duplicate your microphone, so you don't end up with an echo. The app remembers your choices for next time.
Turn on your camera and your face appears in a round bubble you can drag anywhere. Hover over it to switch between small, medium and large, or hide it while the camera keeps recording. The camera is recorded as its own track and placed in the editor, so you can still adjust it afterward.
When something blocks a recording, such as a missing permission, the recorder says what to do instead of failing quietly. While you record, a small bar lets you pause, restart, delete or stop, warns you when time or disk space runs low, and has a private Notes panel for talking points that viewers never see. Recordings stop and upload at 60 minutes on every platform.
Guided setup
The first time you open the app, a setup window walks you through signing in, the permissions it needs for your screen, microphone and camera, and a short recording agreement. A short tour follows, and you can replay it later from Settings → Advanced. The app follows your computer's language, with 19 languages supported. See Install the Clevera desktop app for the full walkthrough.
Can you record an iPhone or iPad on a Mac?
Yes, with the Mac app. Connect your iPhone or iPad to the Mac with a USB cable that carries data, unlock it, and tap Trust the first time it asks. Then choose the iPhone/iPad tile in the launcher and press Start recording. Use the app on the device as you normally would and talk over it with your Mac's microphone. Clevera records the device's screen, its sound and your voice.
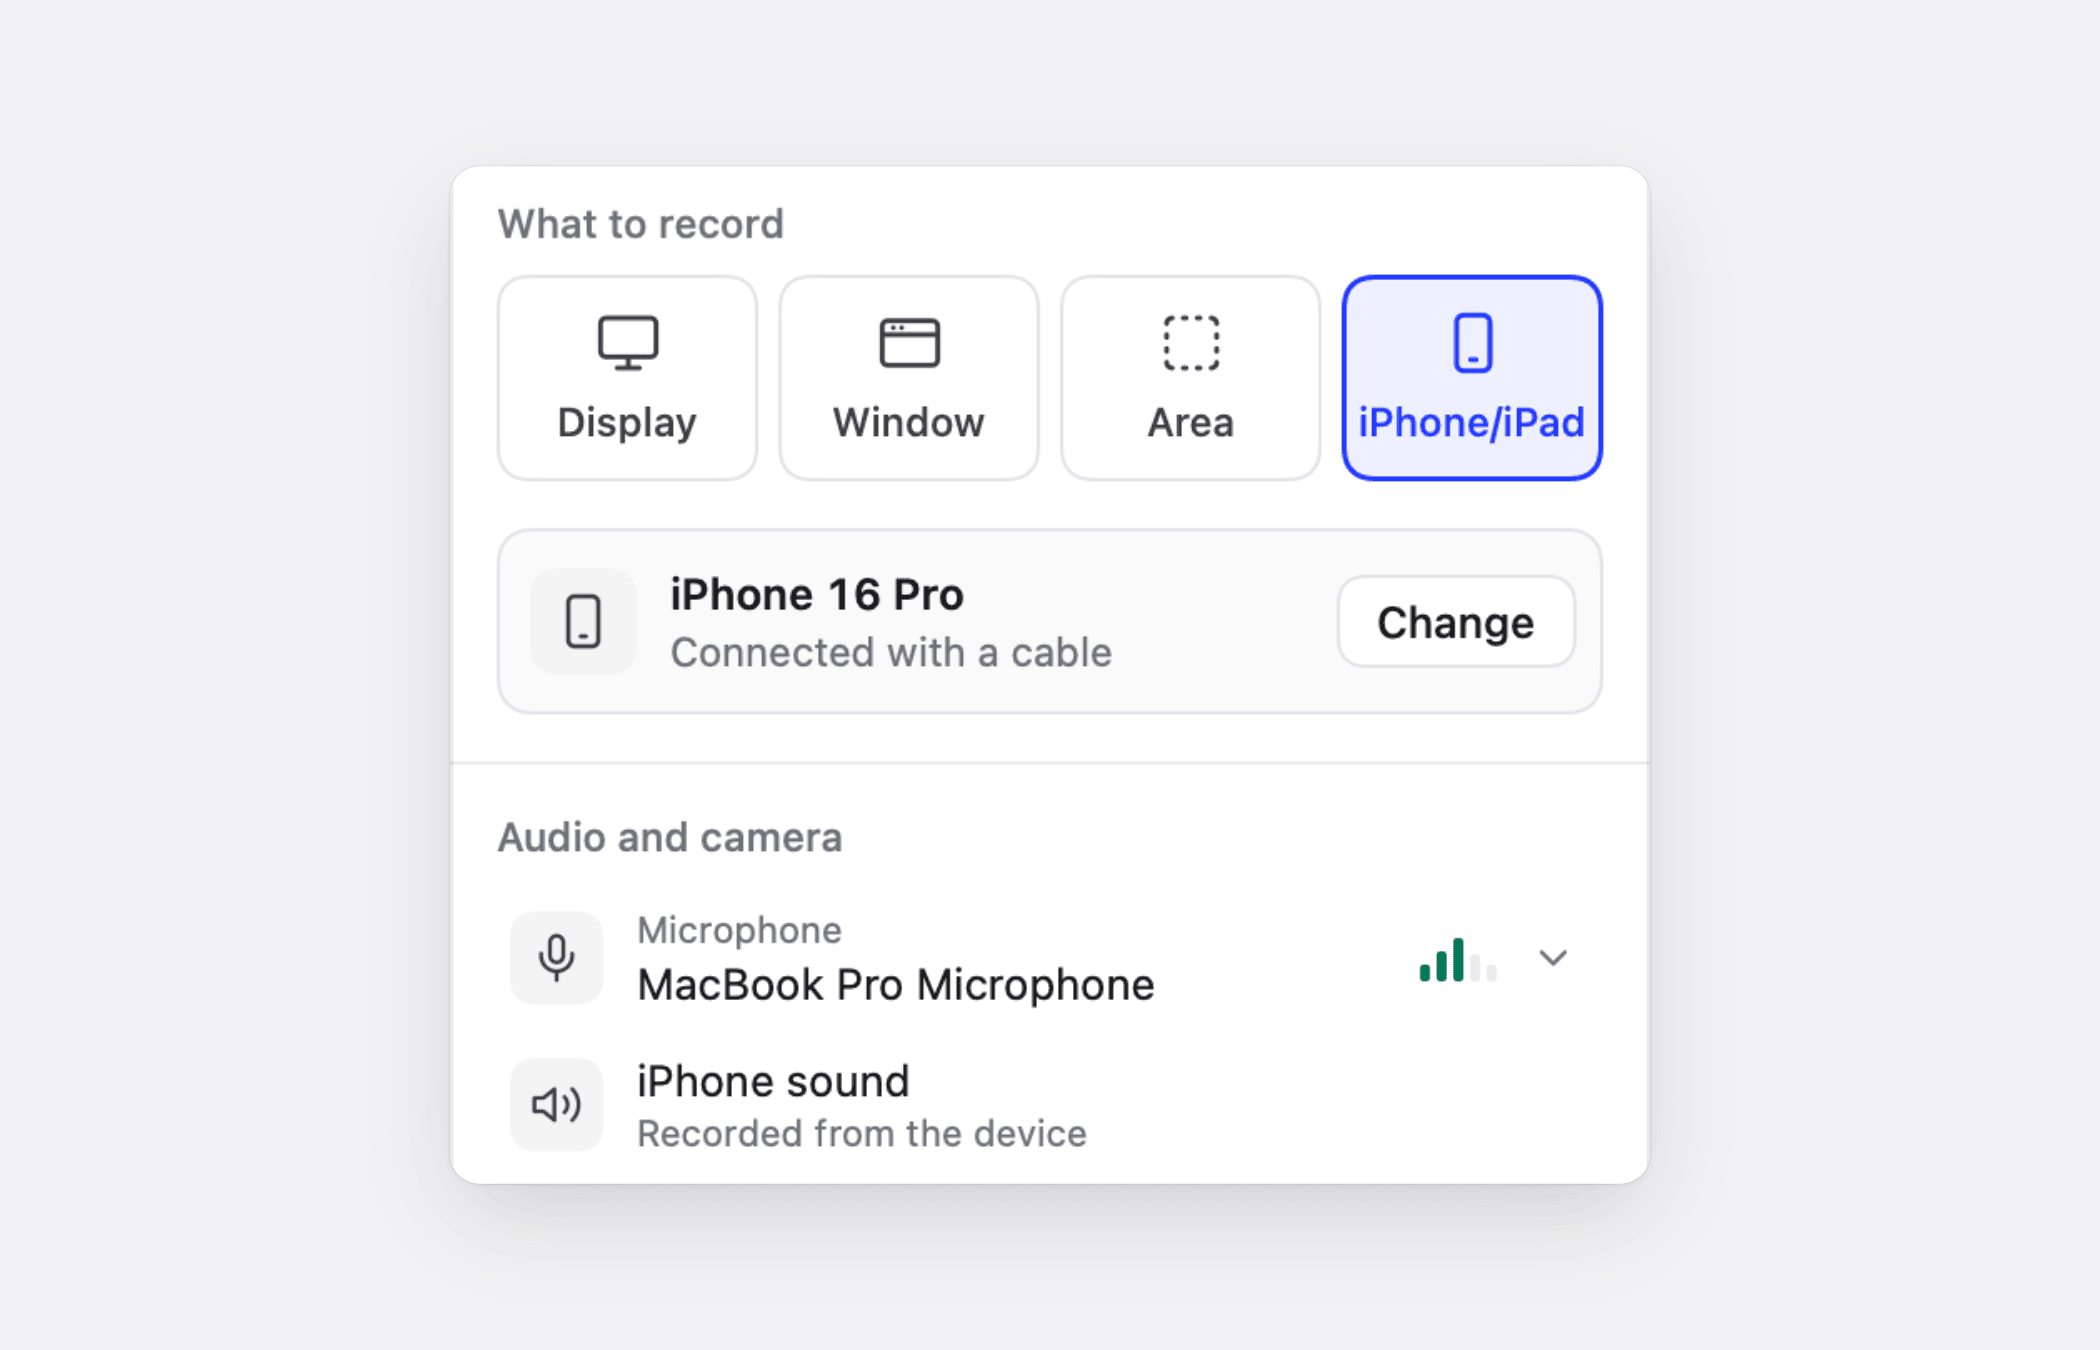
A few things work differently on a device. Taps and typing aren't captured, so Clevera works from the video and your narration rather than from clicks. There's no camera bubble or system audio. Turn on Do Not Disturb first, since notifications on the device end up in the video. The details are in Record an iPhone or iPad.
What happens if an upload is interrupted?
Nothing is lost. Every recording is saved on your computer first and deleted only after it has uploaded. If your connection drops, the upload pauses and resumes on its own. Upload cards show progress and time left, and tell you plainly when an upload is paused, needs you to sign in, or can be retried.
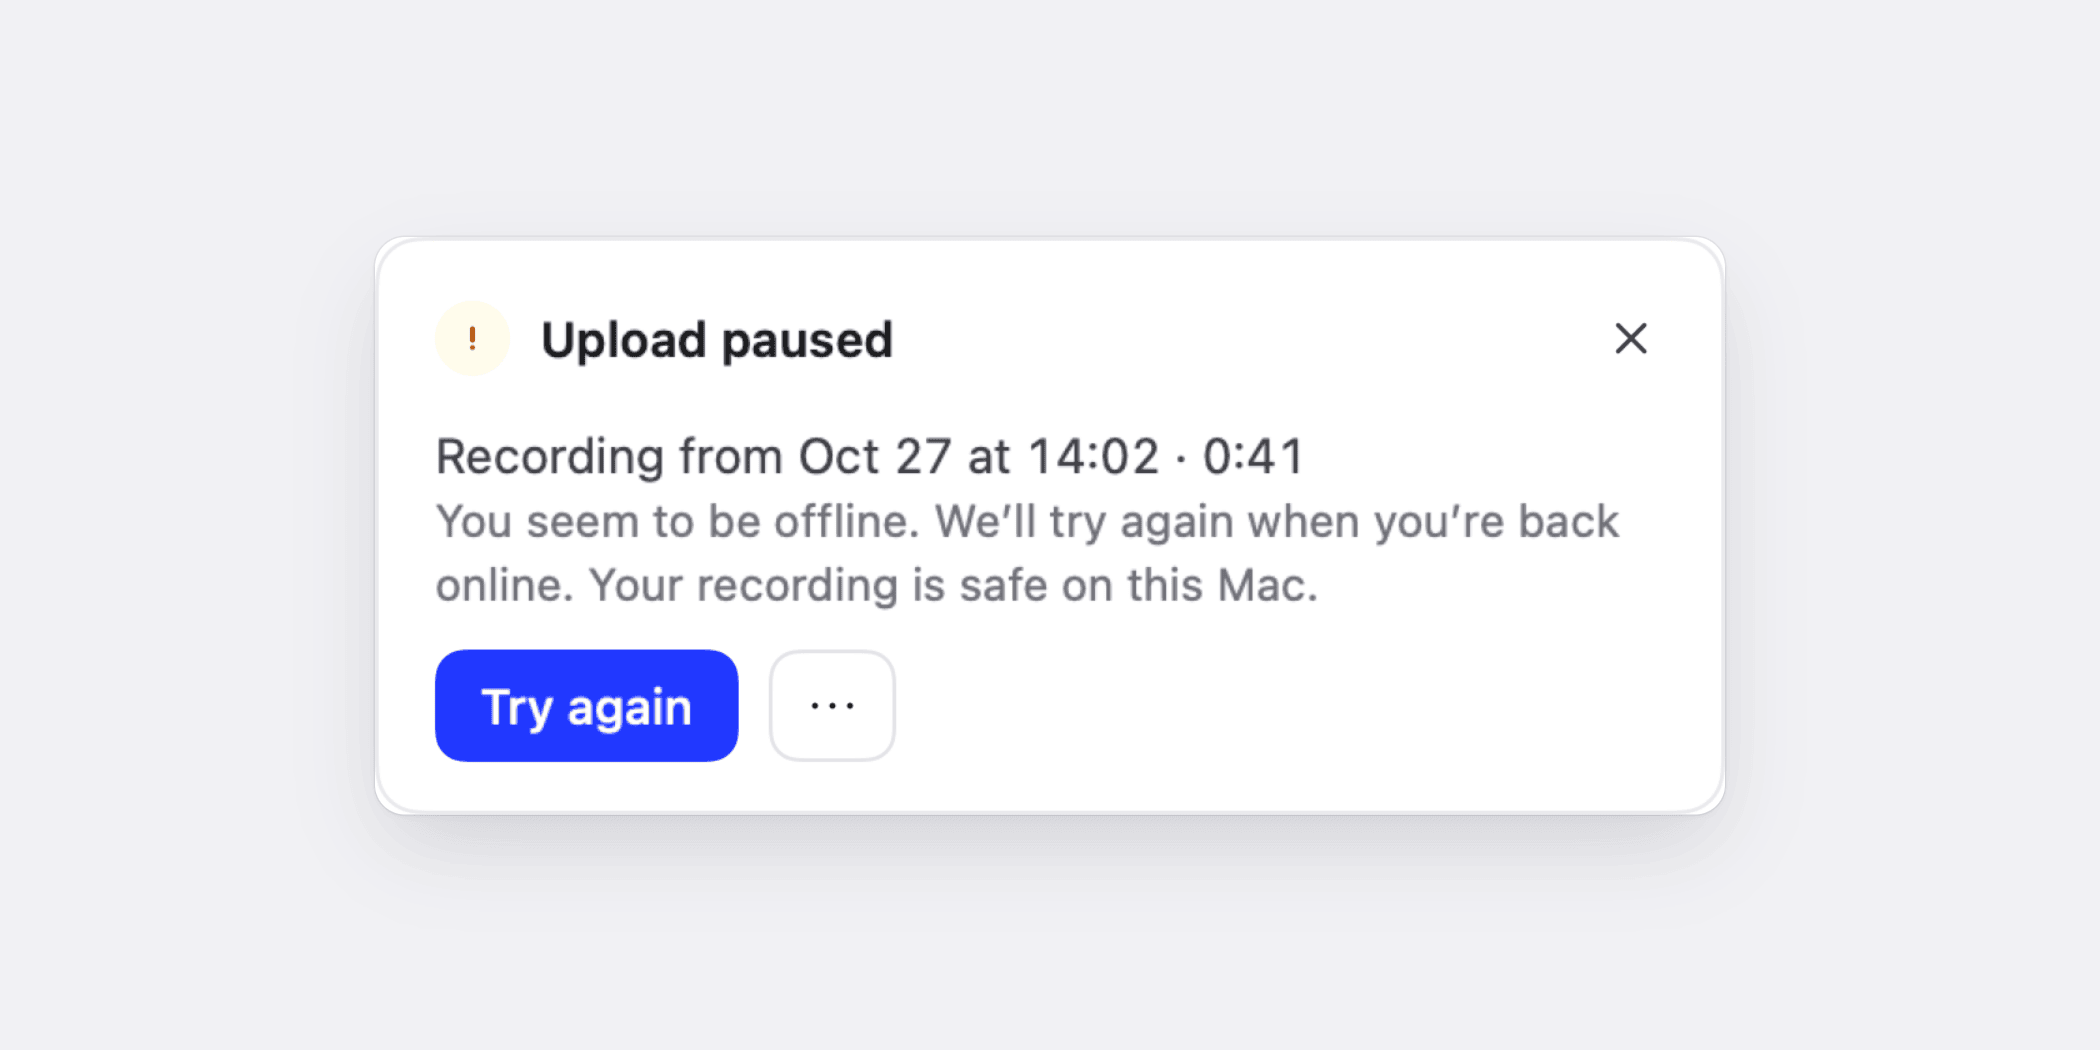
If Clevera closes before a recording finishes, because of a crash, a forced quit or a power cut, what you recorded is kept. The next time Clevera opens, a "We kept your recording" card offers to upload it. Recordings also upload only to the account that made them, even if you switch accounts in between. See Recover a recording that didn't finish uploading.
A screen recorder for Linux
Clevera for Linux brings the same recorder to Linux desktops. There are two AppImages, one for Intel and AMD (x86_64) and one for ARM64 (aarch64). Not sure which you need? Run uname -m in a terminal. We test it on Ubuntu with GNOME.
To install it, download the AppImage for your computer, make it executable (in Files: Properties → Executable as Program, or chmod +x), and open it. Clevera adds itself to your apps list. No package manager or administrator rights are needed. Keep the file in a folder in your home directory, because Clevera updates itself by replacing it.
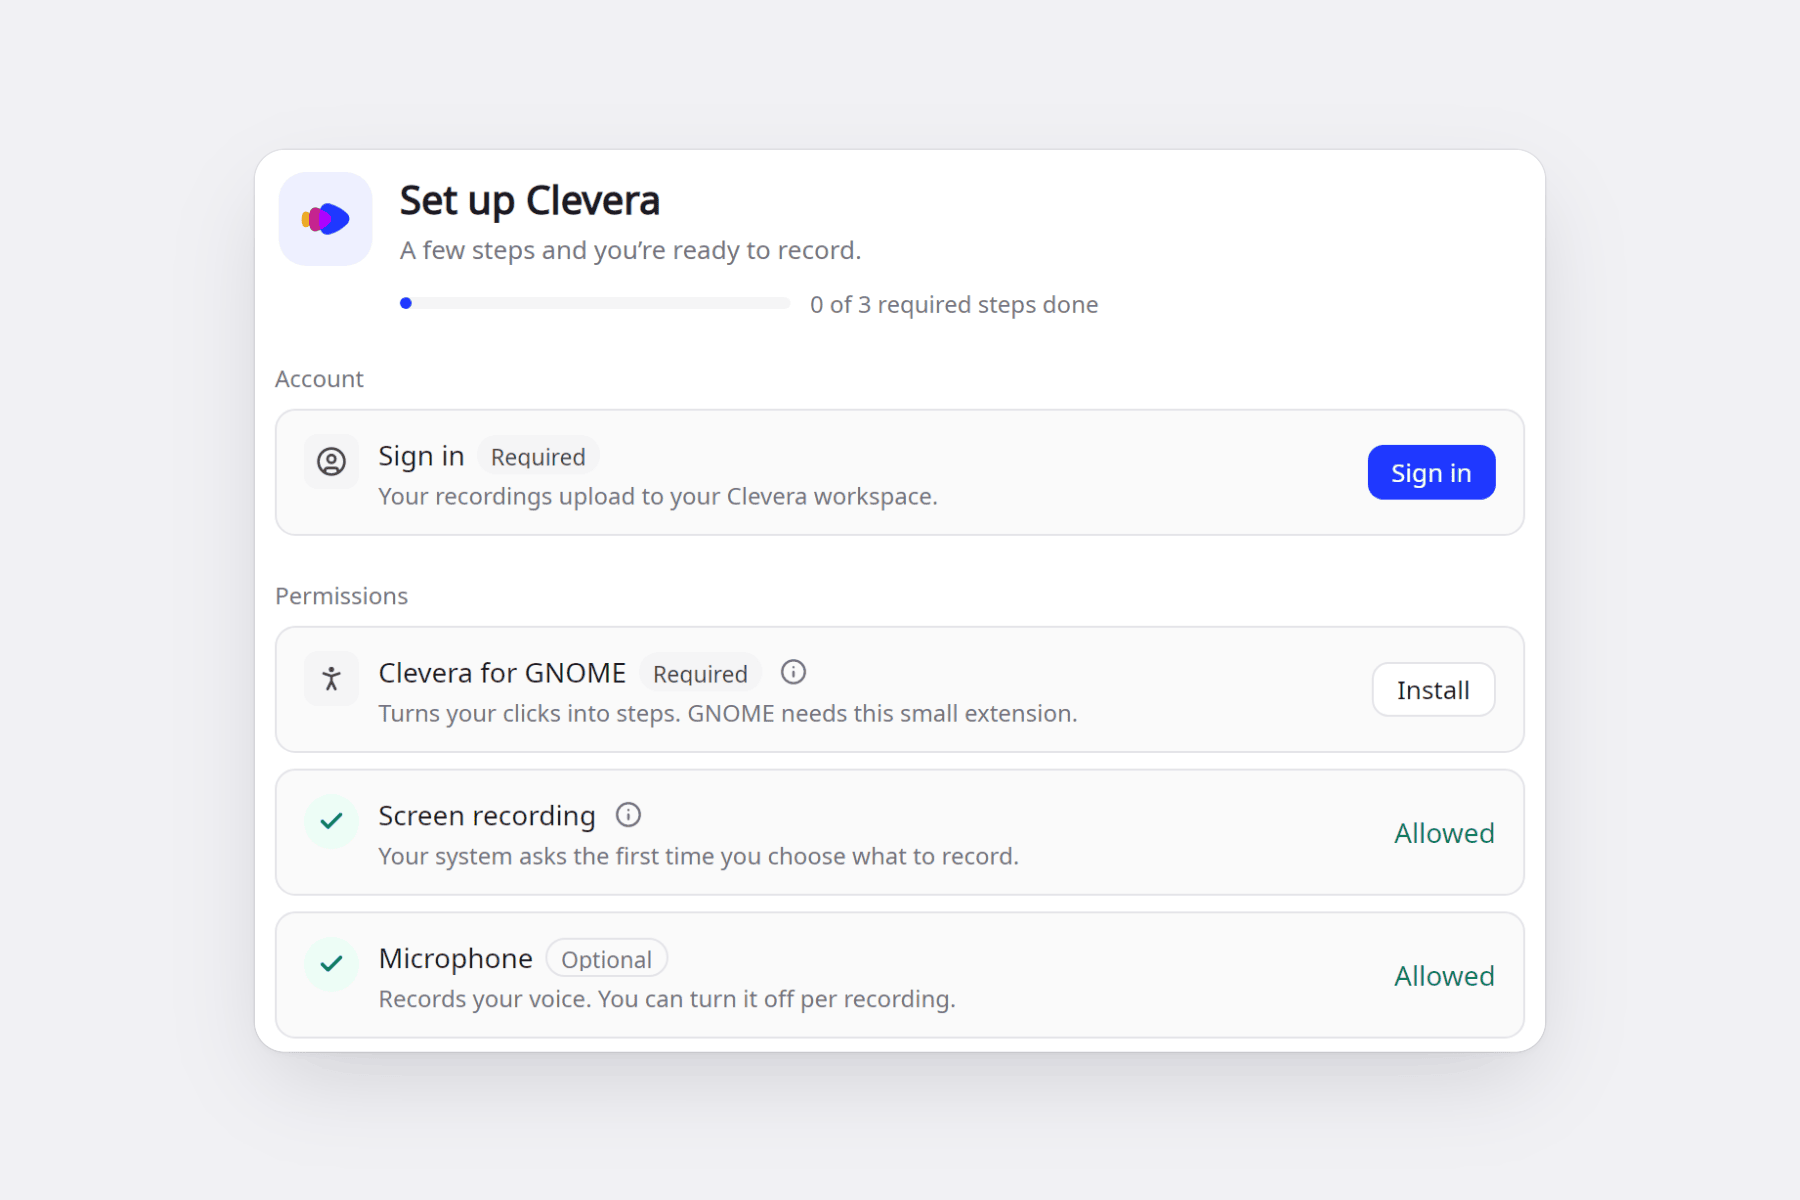
On GNOME, setup installs a small extension called Clevera for GNOME. It turns your clicks into guide steps, drives the automatic zooms, and keeps the recording bar out of your video. It needs one log-out and log-in before it loads. Click-to-step works on GNOME with Wayland; on KDE Plasma or an X11 session, Clevera records your screen, voice and pointer, but not clicks. Typed text capture is optional, and password fields are never recorded.
On Linux you can record a whole display or a single window, with your microphone, a camera bubble and sound from apps and videos. Your desktop's sharing dialog asks once, and Clevera remembers the choice. You get the same countdown, recording bar and 19 languages as on Mac and Windows. Add shortcuts from Settings → Shortcuts; after that your desktop keeps them. Updates are signed, install while the app is idle, and roll back automatically if a new version fails to start.
Two things aren't on Linux yet: recording part of the screen (Area) and recording an iPhone or iPad, which needs the Mac app. The full guide is Install and use Clevera on Linux.
How to get it
Go to the download page. It picks the right file for your computer, and lists both Linux files. If you already have the Mac or Windows app, it updates itself in the background, never during a recording or an upload. Once you've recorded something, Clevera takes it from there: see how the AI screen recorder turns it into a video and a guide, or compare it with other tools in our roundup of the best AI screen recorders.
FAQ
Is the desktop recorder free?
Yes. The apps are free to download and work with every Clevera plan, including Free, which comes with 100 credits a month and videos up to 3 minutes, shared by link or embed. Paid plans add MP4 downloads and more credits. See pricing.
What are the system requirements?
Mac: macOS 12.3 or later, on Apple silicon or Intel (system audio needs macOS 13). Windows: Windows 10 version 1903 or later (2004 or later recommended), 64-bit. Linux: Ubuntu 24.04 or later, Fedora or Debian 13, with GNOME 46 or later or KDE Plasma 6, on Wayland or X11, on Intel/AMD or ARM64 (click-to-step needs GNOME).
Which Linux file do I need?
Most PCs and laptops with an Intel or AMD processor need the x86_64 file. ARM laptops, and Linux virtual machines on an Apple silicon Mac, need ARM64. uname -m prints which one you have.
Does Clevera turn clicks into steps on KDE or X11?
Not yet. Clicks become guide steps only on GNOME with Wayland, through the Clevera for GNOME extension. On KDE Plasma or an X11 session, Clevera records your screen, voice and pointer, but not your clicks.
What can't the Linux app do yet?
It records a whole display or a single window, but not part of the screen. iPhone and iPad recording works only in the Mac app.
Record once, get the video and the guide
Download the Clevera recorder for Mac, Windows or Linux and turn your next walkthrough into a narrated how-to.