How to publish AI documentation to Notion (videos, articles, and guides)
Your team lives in Notion. Your product documentation should too. But keeping that documentation current — with tutorial videos, help articles, and step-by-step guides — is where most teams quietly give up. Someone records a Loom, pastes the link, and calls it done. Six months later, the UI has changed and the link sits there, pointing at a workflow that no longer exists.
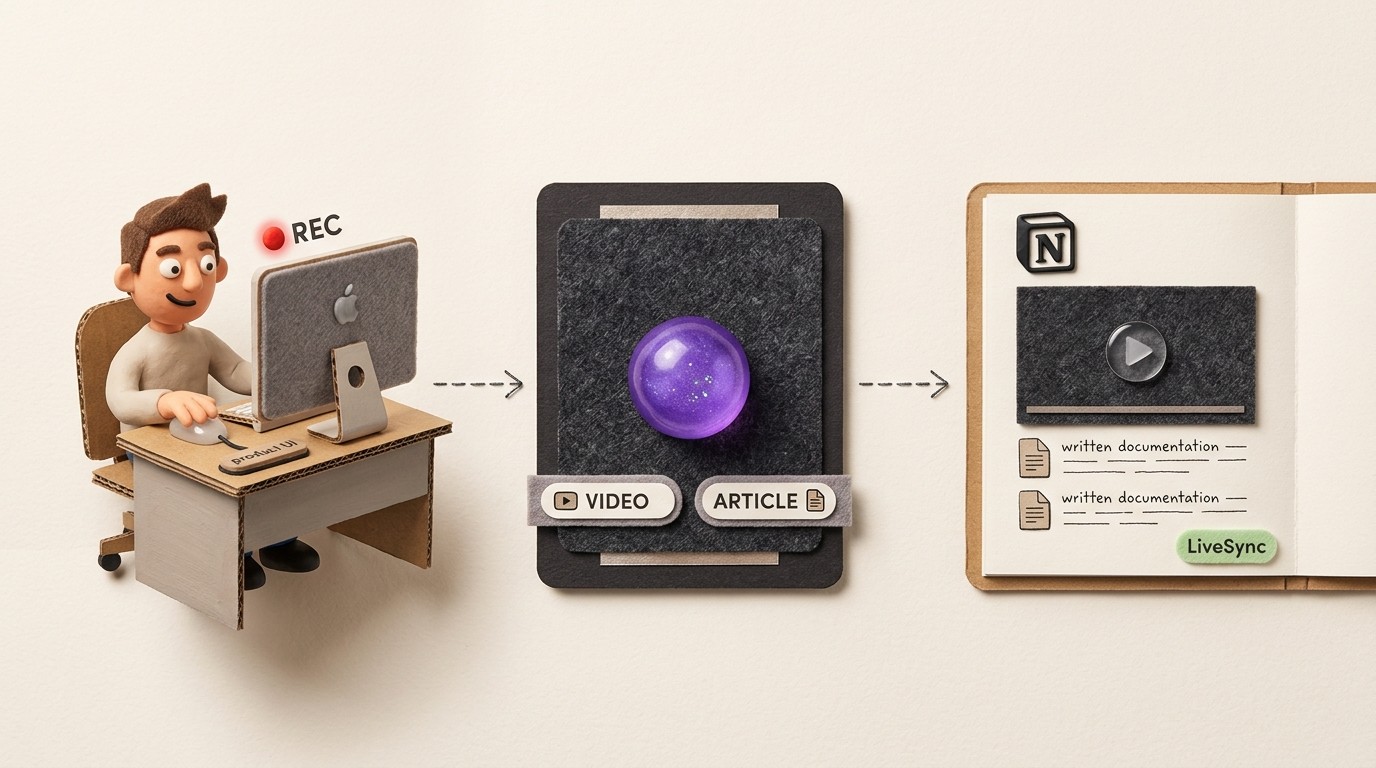
Clevera's Notion integration changes how this works. You record your screen once, and Clevera generates both a narrated tutorial video and a written help article from that single recording. Then you publish both, together, directly into any Notion page. No copy-pasting, no re-uploading, no formatting gymnastics.
Here's exactly how to do it.
What gets published to Notion
Before walking through the steps, it's worth knowing what Clevera actually sends to Notion, because it's more than most people expect.
When you export from Clevera to Notion, you get:
A narrated video embed that sits at the top of the page. This is a live embed, not a static file — more on that in a moment.
A full written article beneath the video, with screenshots, captions, numbered steps, and proper formatting that renders cleanly in Notion.
You can publish both together, or choose to push only the article if you don't need the video on a particular page. Either way, Notion receives publication-ready content — not a rough export you have to clean up after.
Step-by-step: publishing AI documentation to Notion with Clevera
Step 1: Record your screen with the Clevera app
Open the Clevera desktop app on your Mac or Windows machine and hit record. Then perform the workflow you want to document — clicking through your product, configuring a setting, running a process, whatever it is.
You don't need to narrate while you record. Clevera's AI analyzes your on-screen actions and writes a contextual voiceover script from scratch. If you do speak while recording, Clevera uses your narration as input and refines from there. Either way works.
One important note: Clevera only processes recordings made inside its own app. It doesn't work on video files recorded with QuickTime, Loom, or any other screen recorder.
Step 2: Let Clevera generate the video and article
Once you stop recording, Clevera sends the footage to its AI processing pipeline. This is where the heavy lifting happens automatically:
Accidental clicks and dead pauses are removed
A voiceover script is written based on what the AI observed on screen
The script is narrated using AI text-to-speech
Video timing is adjusted to sync naturally with the narration
Cursor movements are smoothed and smart zoom highlights key interactions
A full written article is generated in parallel, with relevant screenshots selected and captioned at each step
You end up with 2 outputs from 1 recording: a polished video and a structured help article, both ready to publish.
Step 3: Review and edit in the Clevera editor
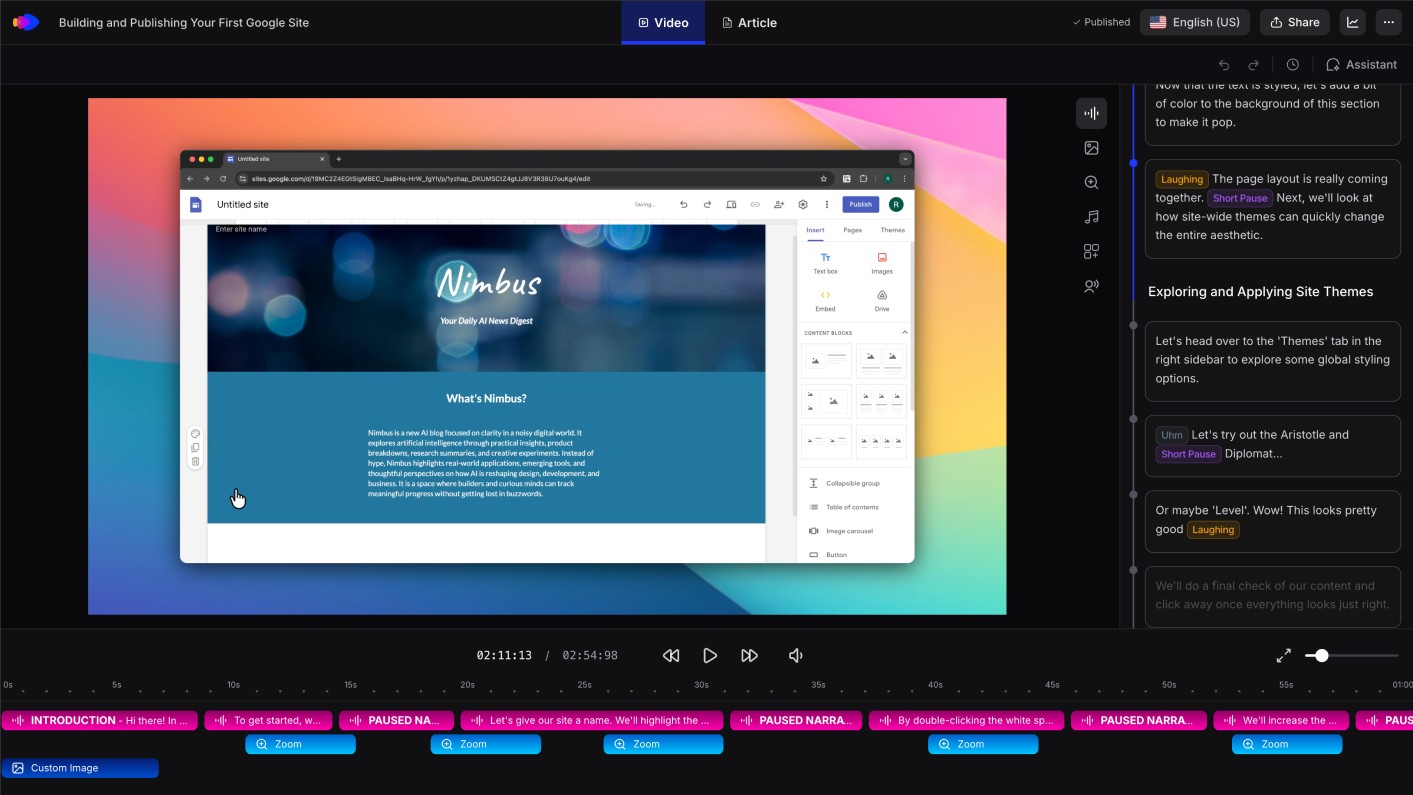
Before publishing, open the outputs in the Clevera editor.
For the video, you'll see a timeline view where you can rewrite any section of the voiceover script, swap voices, adjust tone and style, add custom overlays, or insert blur regions over sensitive information. Any change you make here will propagate instantly to everywhere the video is embedded after you publish — including your Notion pages.
For the article, you'll see a clean editor that works similarly to Notion itself: rich text, code blocks, callout boxes, tables, images, blockquotes. You can edit content manually or give the AI instructions — "make this more concise," "expand the intro," "use a more formal tone" — and it rewrites accordingly.
This step is optional if your content looks good out of the box, but a quick review before publishing is always worth it.
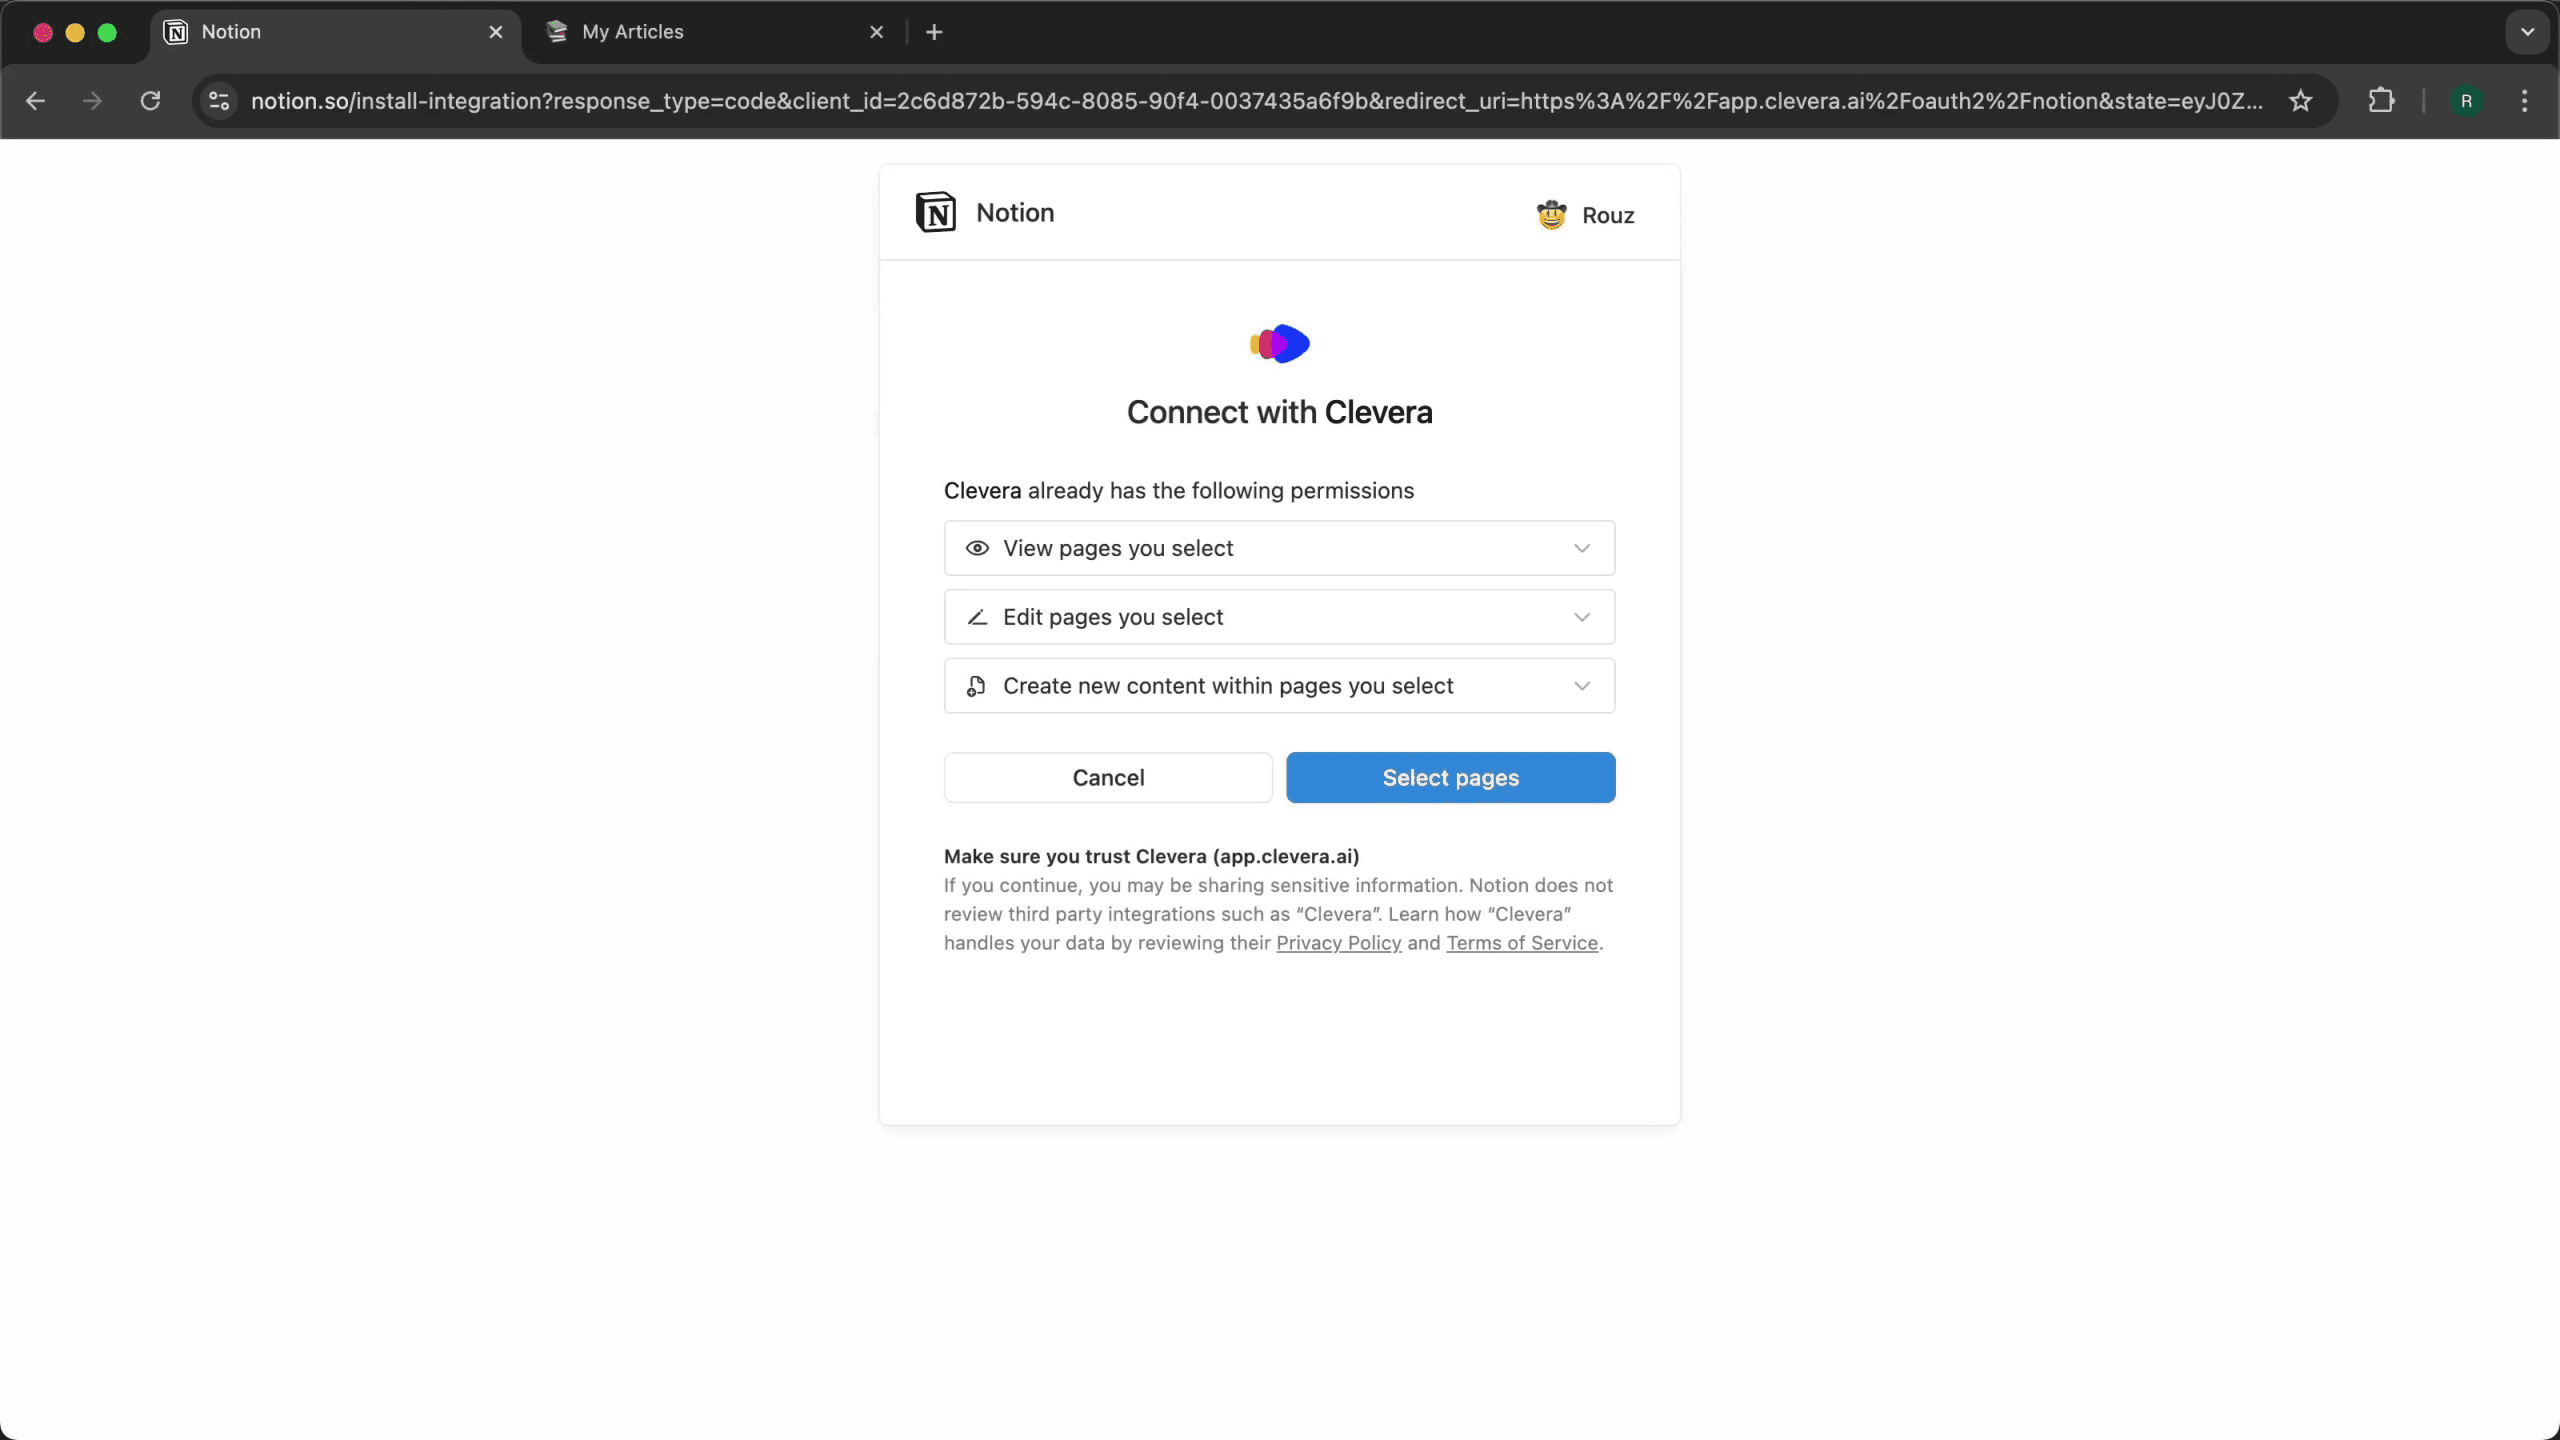
Step 4: Connect your Notion workspace
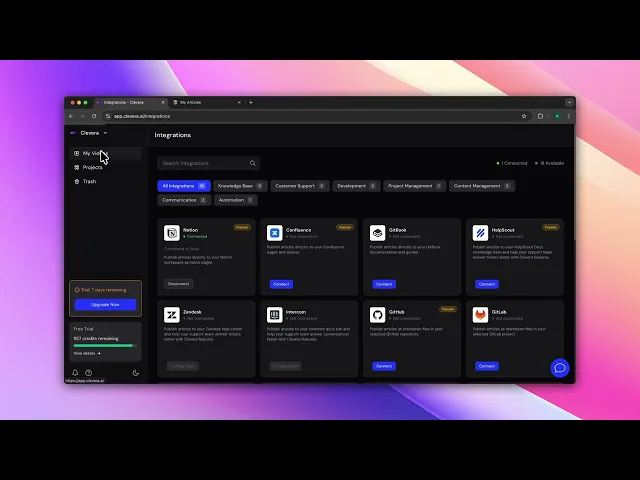
If this is your first time publishing to Notion, you'll need to connect your workspace. In Clevera's export settings, select Notion as your destination and follow the authorization flow. You'll grant Clevera access to the Notion pages where you want to publish.
This is a one-time setup. Once connected, your Notion workspace is available as a publish destination every time.
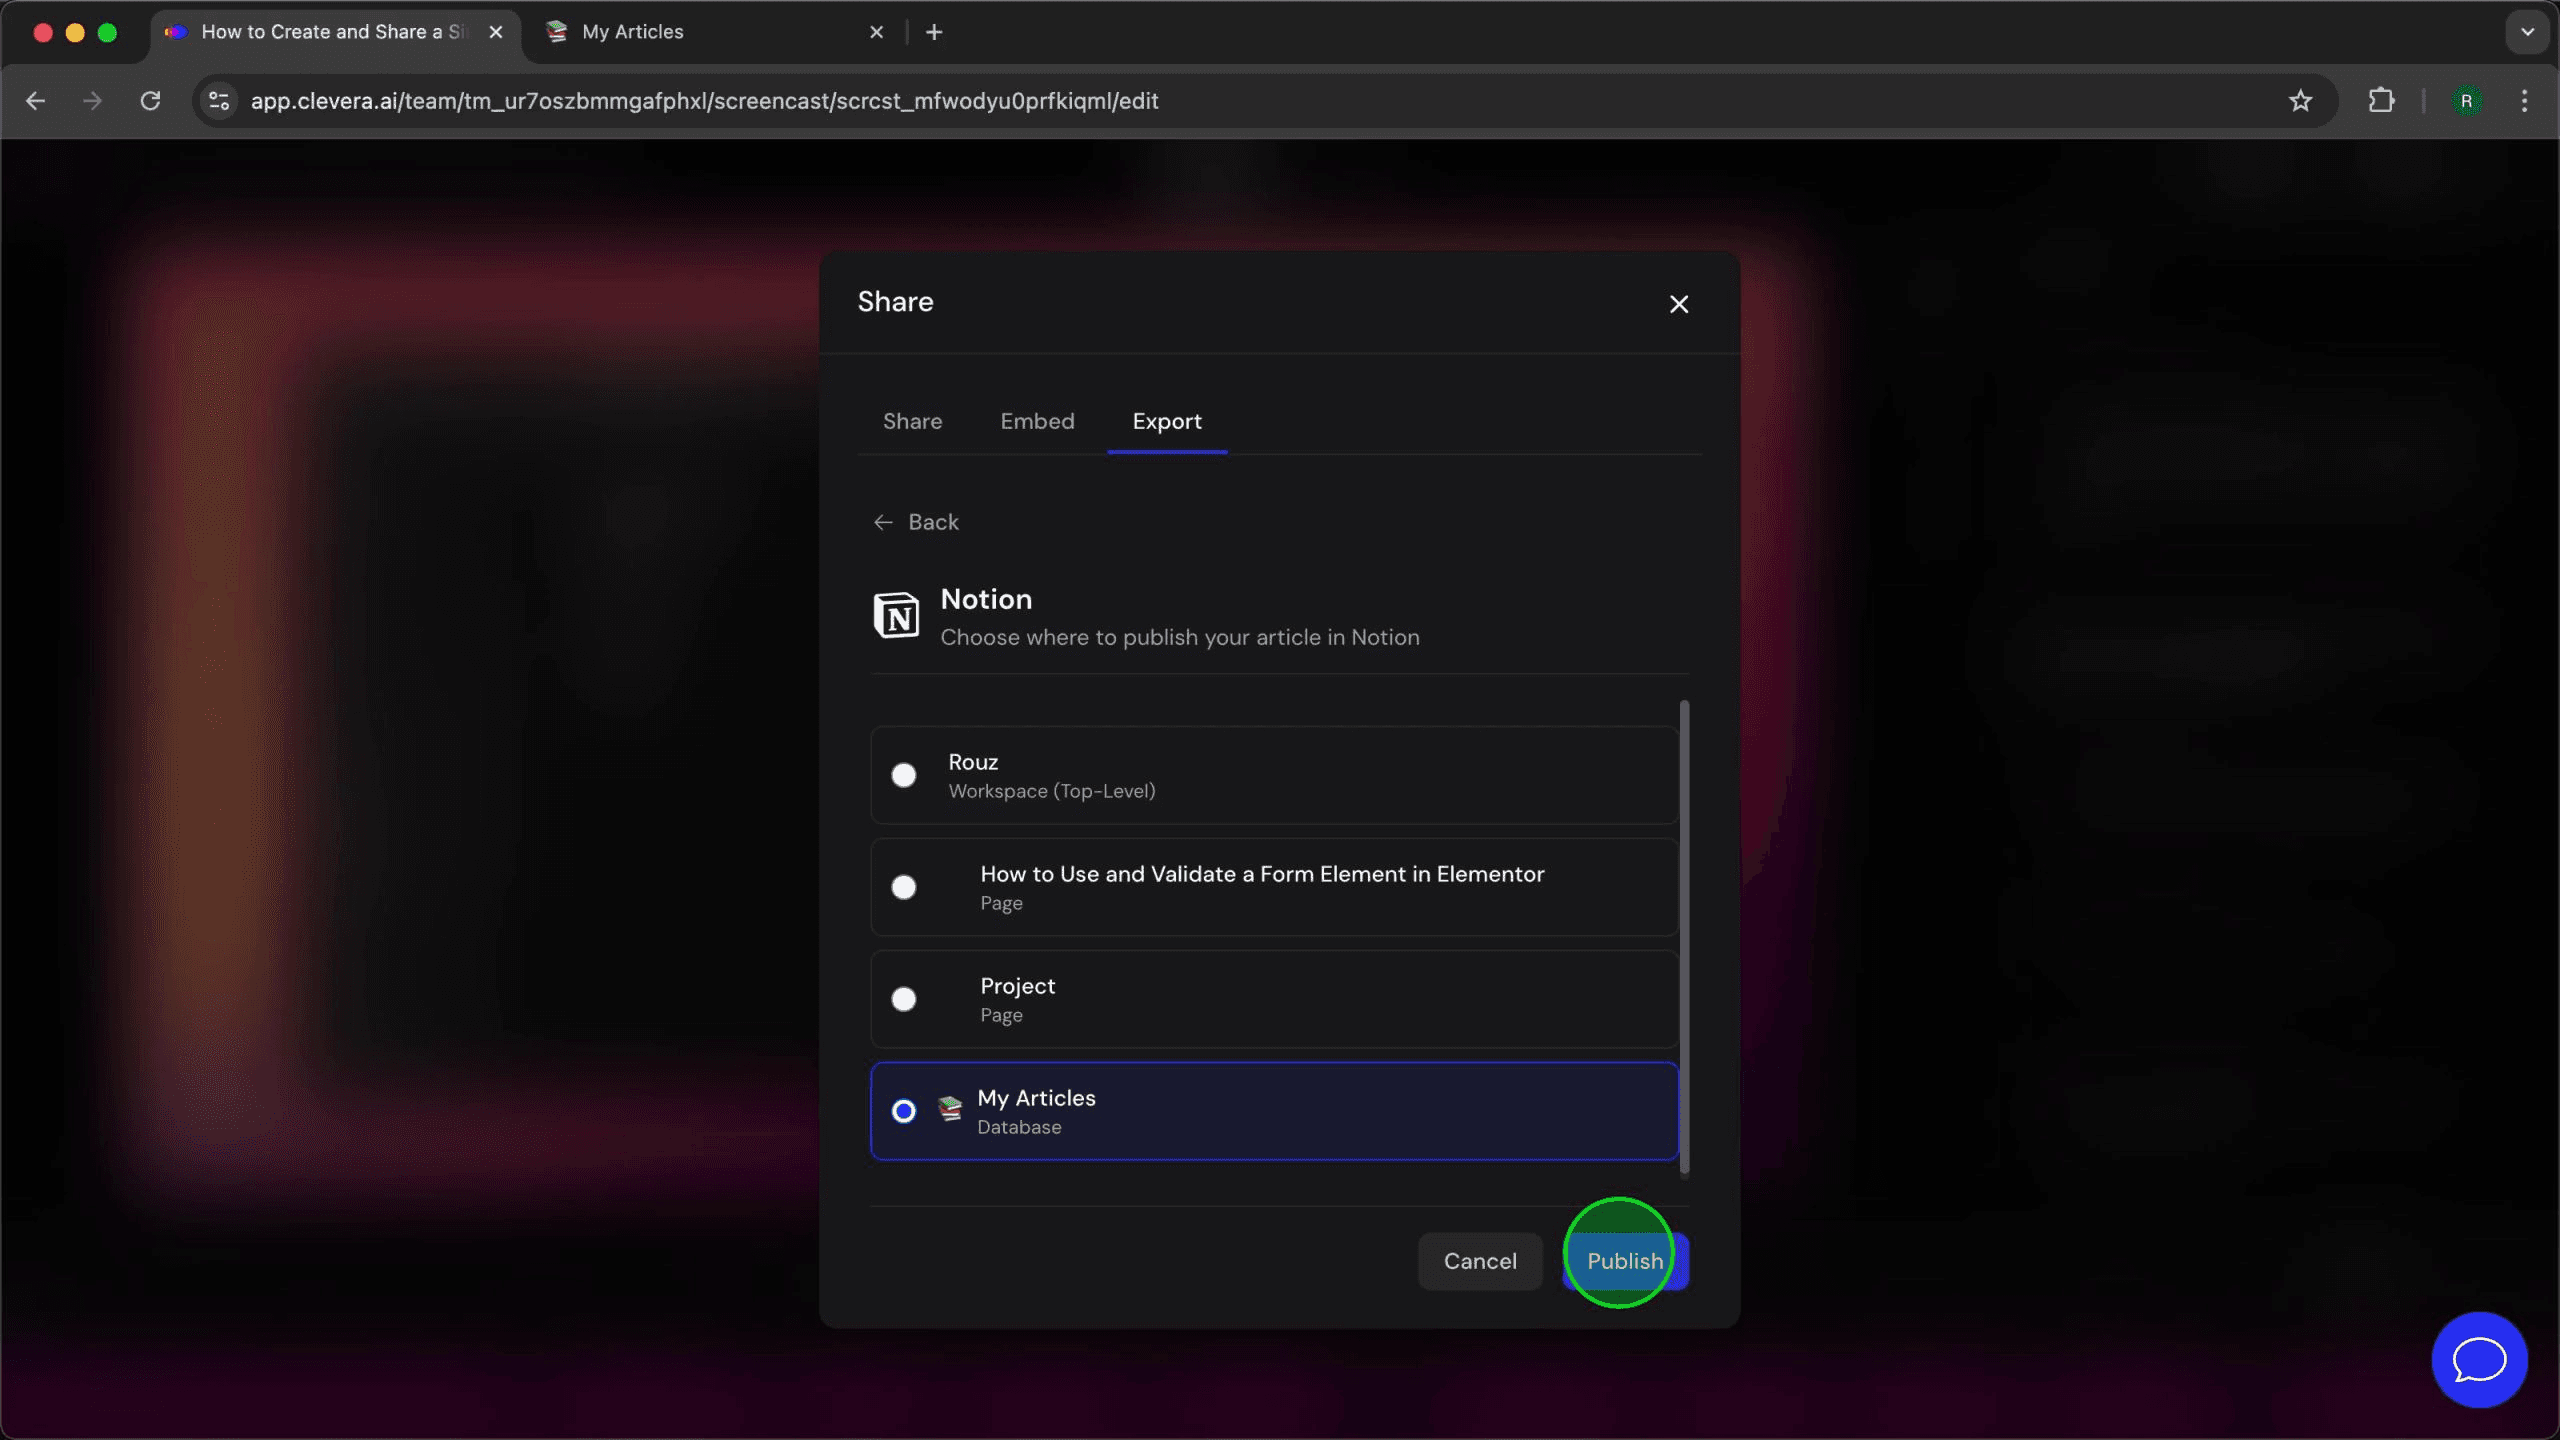
Step 5: Publish
Hit publish. Clevera pushes the content to Notion. The article arrives formatted and ready — no cleanup needed. The video appears as a live HTML embed.
That's the full workflow, start to finish, from a raw screen recording to a formatted Notion page with both video and written documentation.
The LiveSync advantage for Notion documentation
Here's what makes this more than a one-time export.
When Clevera embeds a video into Notion, that embed stays live. If you update the video inside Clevera — rewriting the voiceover, changing the tone, adjusting zooms, adding a blur to a new region — the change appears in your Notion page automatically. No re-exporting, no replacing the embed, no hunting down which pages have the old version.
This matters most when your product UI changes. Recording an updated walkthrough takes minutes with Clevera. Publish it, and every Notion page embedding that video updates instantly. Your knowledge base stays current without a manual cleanup pass.
What this looks like in practice
Say you're a customer success manager at a SaaS company. You've built a Notion wiki for onboarding new customers, and you want a dedicated page for each key workflow in your product.
With Clevera, your process looks like this: record the workflow, publish to Notion, done. Each page gets a narrated video walk-through and a written step-by-step guide. When the product ships a UI update, you re-record the affected workflow, publish again, and the Notion page reflects the change.
No video editor. No technical writer. No lag between when a feature ships and when your documentation catches up.
If you're building out or maintaining a Notion knowledge base and want to add video documentation at scale, this is the most direct path to doing it without a production team behind you.
Getting started
Clevera works on macOS and Windows. The fastest way to see if it fits your workflow is to record one thing — a single process, one feature walkthrough — and publish it to a test Notion page. The whole loop takes under 10 minutes.