How to create product demo videos (without a video team)

Product demo videos are some of the most useful content you can produce. They show your product in action, answer "how does this work?" before anyone has to ask, and reduce the time a prospect or new user needs to understand your value. The problem is that most teams don't have enough of them, because making them has traditionally required video expertise they don't have.
That's changed. Here's how to create product demo videos that look professional, narrated, and polished, without a video editor, a recording studio, or a scriptwriter.
What makes a product demo video worth watching
Before getting into the how, it's worth being specific about what makes demo videos actually useful rather than ignored:
Narration that explains, not just describes: "Now I'll click Settings" is useless narration. "To change the notification preferences, go to Settings, then Notifications. You can configure each channel independently here." That's the difference between showing and explaining. Good demo videos narrate with context.
Clean visuals: shaky cursors, accidental click trails, misnavigation, and UI mistakes all erode trust. A demo video should look intentional.
The right length: most product demo videos are too long. A focused 2-4 minute demo per workflow is more effective than a 15-minute all-features tour. Show one thing well.
Accessibility for different learning styles: some users watch a demo video once. Others want to pause and re-read. Demo videos that come with a written walkthrough alongside them serve both groups.
How to create product demo videos with AI
The traditional process for making a product demo video involves separate steps: writing a script, recording the screen cleanly, recording a voiceover, editing the footage, and exporting for different platforms. AI reduces this to a single step: recording your screen while you demonstrate the product.
Here's how it works with Clevera:
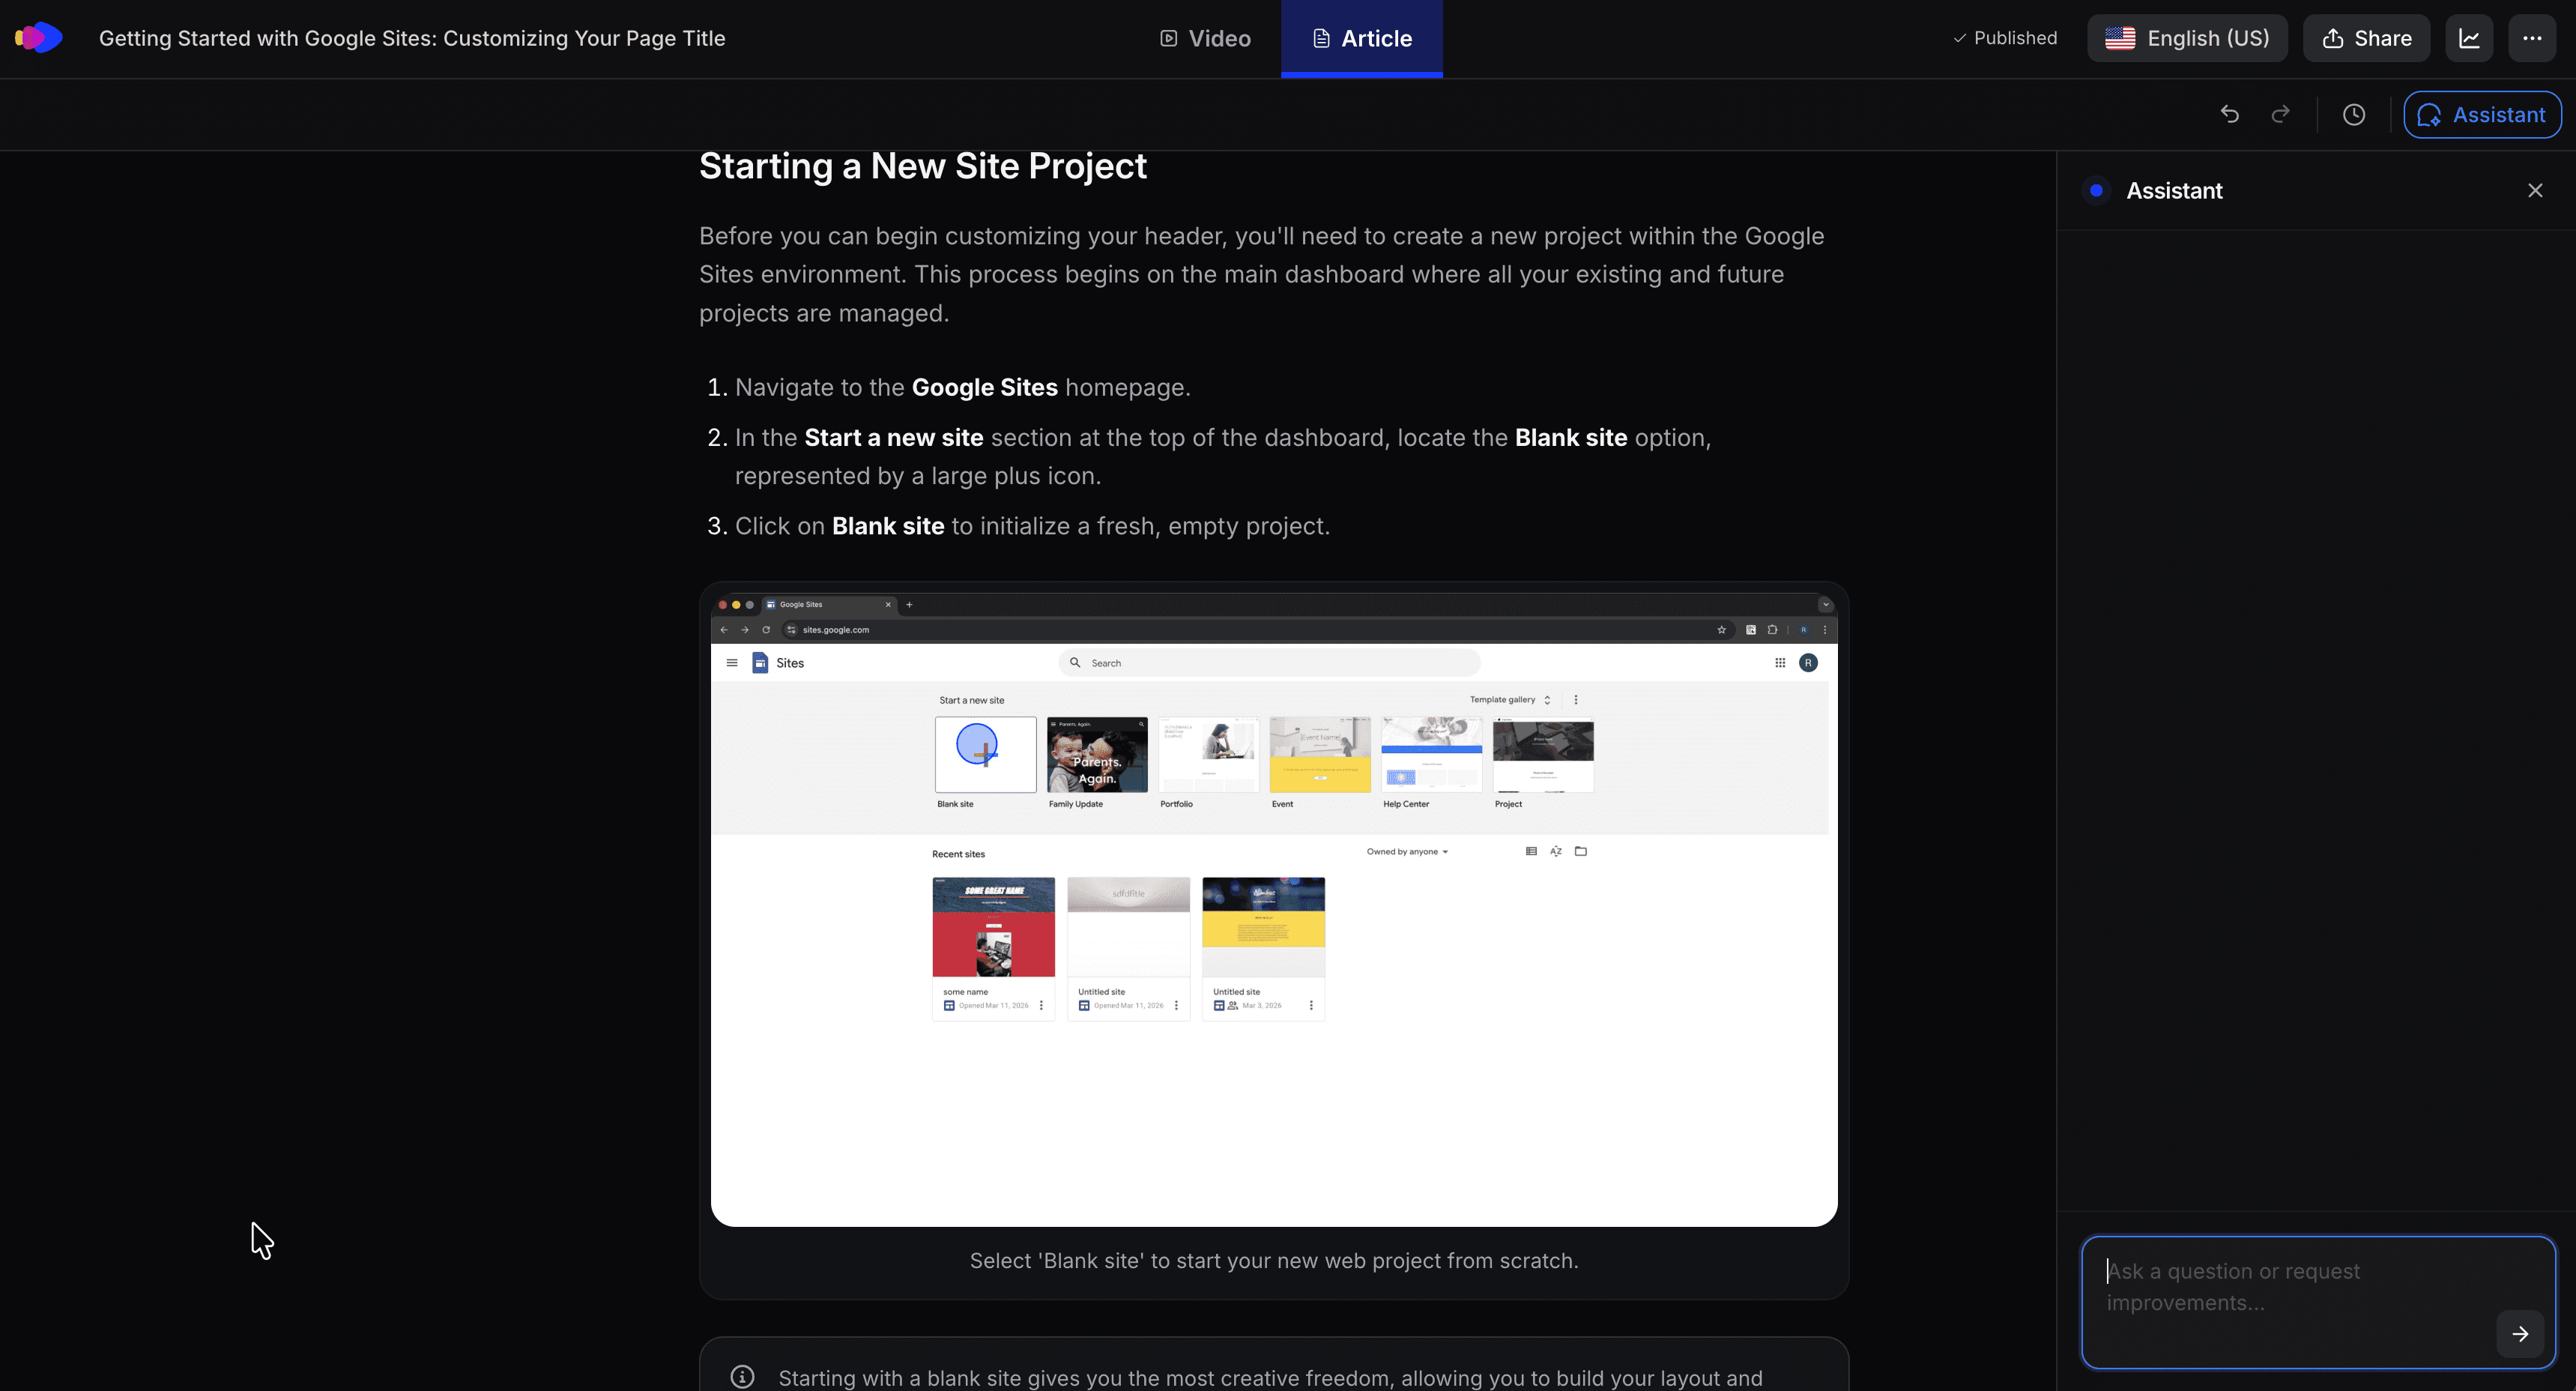
1. Record the workflow
Open Clevera on your Mac or Windows machine and start a screen recording. Walk through the product feature or workflow you want to demo. Don't narrate while recording. Don't worry about mistakes. Move through the feature at a natural pace and show the workflow clearly from start to finish.
Keep each recording focused on one workflow or feature. Short, specific demos are more useful than comprehensive tours.
2. Let the AI produce the video
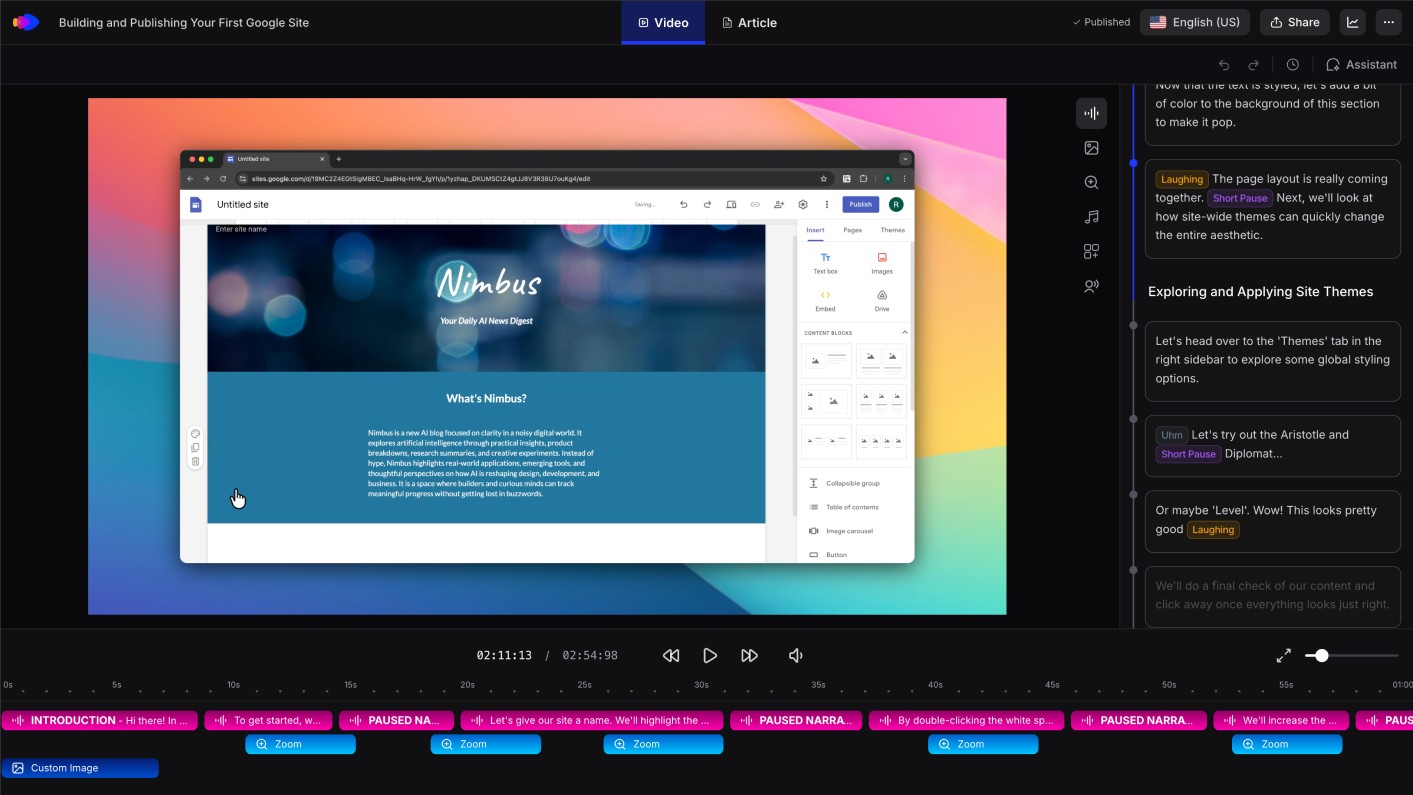
When you stop recording, Clevera processes your footage in the cloud. The AI analyzes every on-screen action, removes mistakes and pauses, and produces a polished product demo video automatically. Specifically, it:
Identifies the meaningful steps and filters out accidental actions
Writes a voiceover script based on the on-screen context, not a transcript of clicks but an explanation of what you're doing and why
Generates a natural-sounding AI narration synced to the video
Applies smart zoom on key interactions
Smooths cursor movement throughout
Balances timing so the video flows at a comfortable pace
The article (a written step-by-step walkthrough with embedded screenshots) is generated at the same time, optionally. One recording, 2 publishable assets.
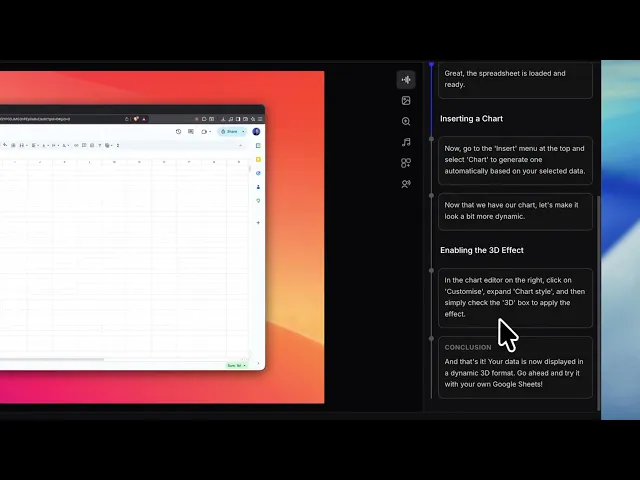
3. Review and adjust
Open the timeline editor and watch the video. Read through the article in the Notion-like editor. For most short demos, the output is close to ready. If a narration line doesn't capture the right context, rewrite it in the editor and regenerate the voiceover for that segment in seconds.
You can also:
Add custom callouts, highlights, or blur effects over sensitive content
Adjust the voice style and tone
Customize the visual container (background, padding, device frame)
Add your own audio clip to any timestamp
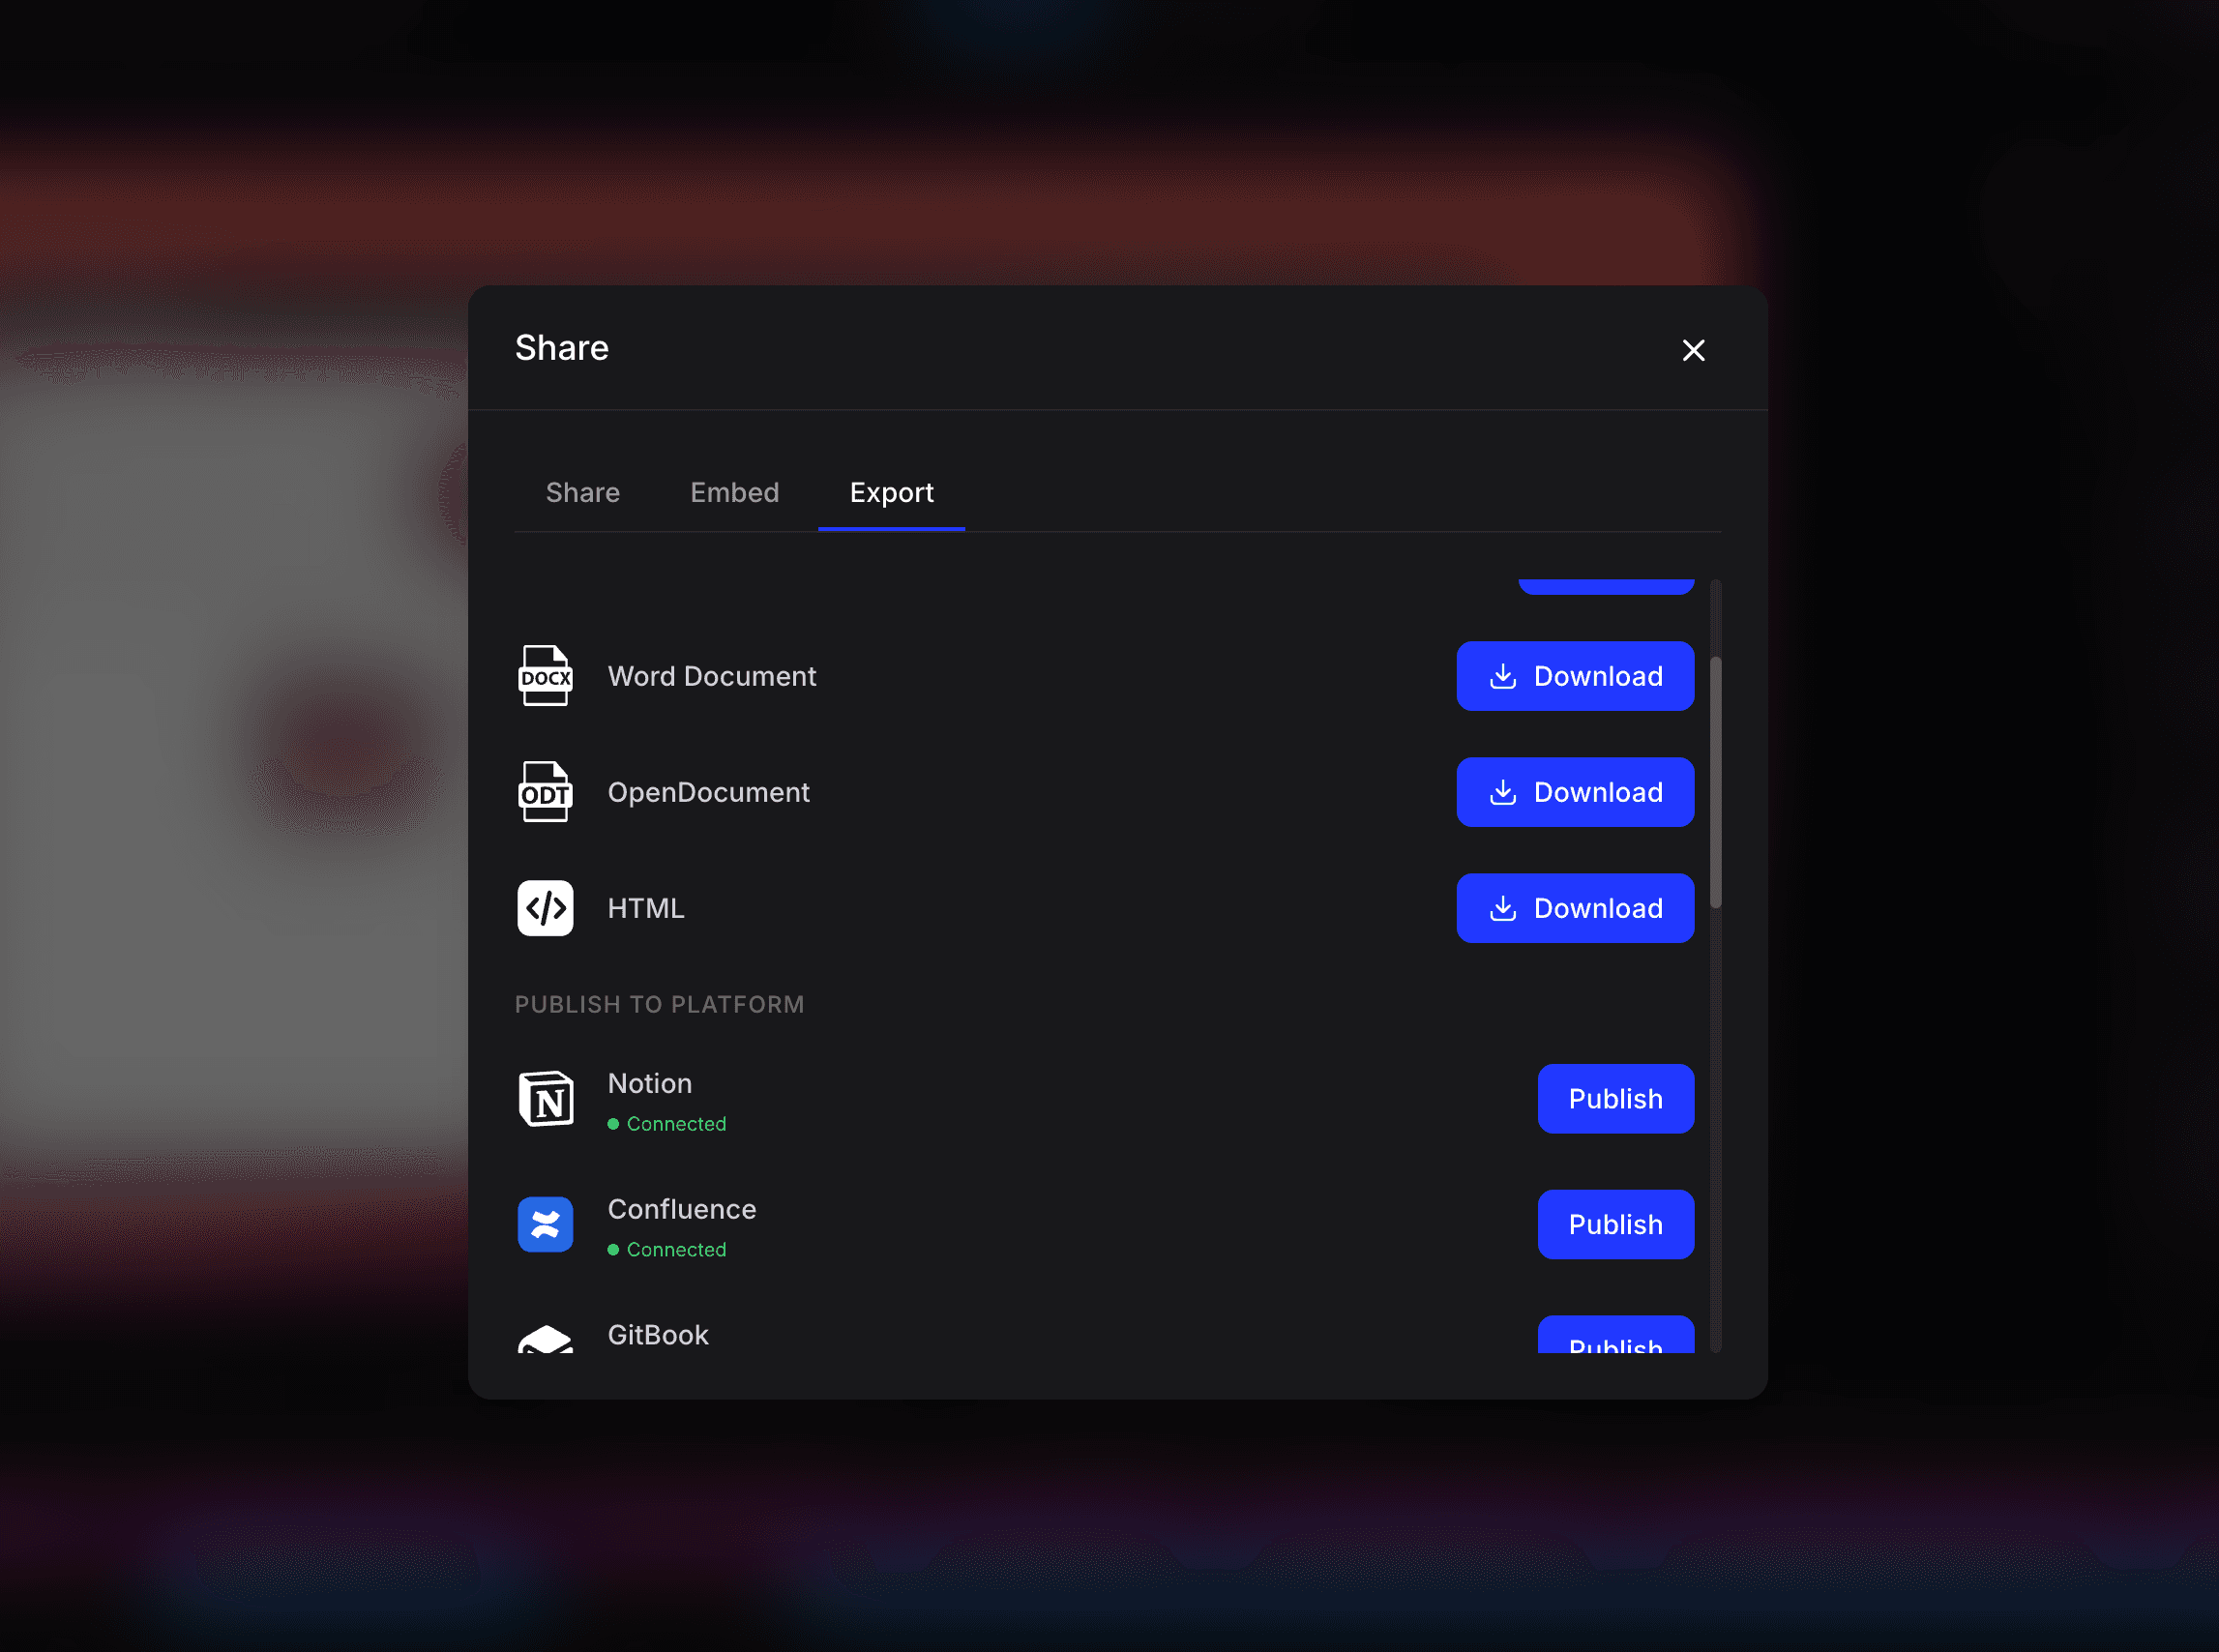
4. Publish
Export the video as an MP4 or embed it as HTML. Export the article to Notion, Confluence, Zendesk, GitHub, HelpScout, Gitbook, Intercom, ClickUp, or any of the other supported platforms. When exported with the article, the video appears as an embedded block at the top, with the written walkthrough beneath it.
If you embed the video on a web page, it's live. Any future changes you make to the video in Clevera, updating narration, adding a callout, adjusting the style, apply instantly everywhere it's embedded without re-exporting or replacing the embed code. This is Clevera's LiveSync feature, and it matters a lot for demo libraries that need to stay current as the product evolves.
Building a demo library that stays current
Creating 1 product demo video is straightforward. Creating 20 and keeping them current is where most teams fall behind. The answer is making re-creation as fast as initial creation.
Because Clevera automates the production process, re-recording a demo when a UI changes takes about as long as recording it the first time. That changes the calculus: instead of "we'll update this when we have time," updating a demo becomes a 15-minute task.
For narration or content changes that don't require new footage, LiveSync makes it even simpler. Edit the script, update the voiceover, and every embed reflects the change.
Who should make product demo videos
Product teams: every feature you ship deserves a demo. If you can produce one the day a feature launches, users see the value before they ask support about it.
Customer success teams: "here's a demo of how to do that" is a better support response than a text explanation. A library of short, specific demo videos reduces ticket volume and improves the user experience.
Sales teams: prospects who don't book a live call still need to understand the product. A well-produced demo video on your site, in a follow-up email, or in an outreach sequence keeps the conversation going without requiring a rep's time.
Onboarding teams: new users need to see core workflows in action early. Short, focused demo videos for each key use case help users get value faster.
If your team has avoided building out your demo library because production was too slow, the barrier is now much lower.

