How to create a product walkthrough video (step-by-step guide)

A product walkthrough video shows a potential customer, new user, or team member exactly what to do and what to expect inside your product. Done well, it shortens time-to-value, reduces support tickets, and makes your product feel polished and well-supported.
Done poorly, it's a screencast with a shaky cursor, no narration, and a cut-off that leaves the viewer wondering what they were supposed to take away.
Here's how to create a product walkthrough video that does what it's supposed to do.
What a product walkthrough video needs to accomplish
Before you record anything, get clear on the purpose:
Is this for a new user? The walkthrough should cover the first actions needed to get value. Keep it focused on the critical path.
Is this for a specific feature? Cover the full workflow for that feature, from entry point to outcome.
Is this for sales or prospects? Focus on the "wow" moments and outcomes, not every setting and option.
The scope determines the length, the level of detail, and the tone. A new user onboarding walkthrough and a feature demo video are different products, even if they use the same recording tool.
Planning your product walkthrough video
Define the start and end state. A walkthrough that doesn't have a clear endpoint loses the viewer. Know exactly where your video starts ("you've just signed up and you're looking at an empty dashboard") and where it ends ("you've just published your first tutorial to your help center").
Identify the critical steps. List every step between the start and end state. Include steps that seem obvious to you. New users won't find them obvious.
Decide on the audience's assumed knowledge level. Do they know what a "workspace" is in your product? Do they know the difference between a draft and a published article? Define your assumptions so your narration doesn't leave gaps.
Recording the walkthrough with Clevera
Clevera is built for this exact workflow. Choose how you capture the walkthrough:
Desktop app (Mac or Windows): full-OS capture for workflows that span desktop apps, browsers, and internal tools. The app captures your screen, mouse interactions, key presses, and application context.
Chrome extension: record web-only product flows in Google Chrome when you don't need the desktop app.
Upload: use an existing screen recording (from Loom, OBS, QuickTime, or elsewhere) when you already have footage and don't need to capture again.
Perform the walkthrough at a normal pace. Don't slow down artificially or pause for dramatic effect. Record the flow as a real user would experience it. If you make a mistake, keep going. Clevera's AI removes accidental clicks and unnecessary pauses automatically.
Stop recording or finish uploading when the workflow is complete. Clevera sends the captured data to its AI processing pipeline.
You don't need to narrate during recording. Clevera's AI generates the voiceover script from the observed actions.
AI handles the narration
After processing, Clevera produces a voiceover script based on the context of every action in the recording. The script reads like a knowledgeable guide walking the viewer through the steps, not a transcript of what happened.
Review the script in the timeline editor. Rewrite any line that isn't right. Select your preferred AI voice and tone. Add custom narration to specific moments if needed. Regenerate any section after edits with one click.
The narrated video syncs the audio precisely to the video timeline by default. If narration and on-screen action drift slightly, use Clevera's sync editor to shift the voiceover precisely relative to the video until timing feels right.
Editing the product walkthrough video
Clevera's timeline editor gives you full control over the video without requiring video editing experience:
Trim unwanted sections. If you included more context than you need, trim the video to the relevant portions.
Adjust the narration. Rewrite lines. Add context. Change the pace of a section. Fine-tune voiceover sync in the sync editor if a step feels early or late.
Add overlays. Insert blur overlays to hide sensitive information. Add highlight overlays to draw attention to specific UI elements. Add image, video, or audio overlays where useful.
Customize the presentation. Adjust the video container styling, background, padding, and branding to match your product's visual identity.
Publishing and embedding
Export the finished walkthrough as MP4 for one-time use, or use the HTML embed code for a live, updatable version.
The HTML embed uses Clevera's LiveSync feature. When you update the video (rewrite the script, update a step, change the narration), the update appears everywhere the video is embedded automatically. No re-export. No re-upload. No broken links.
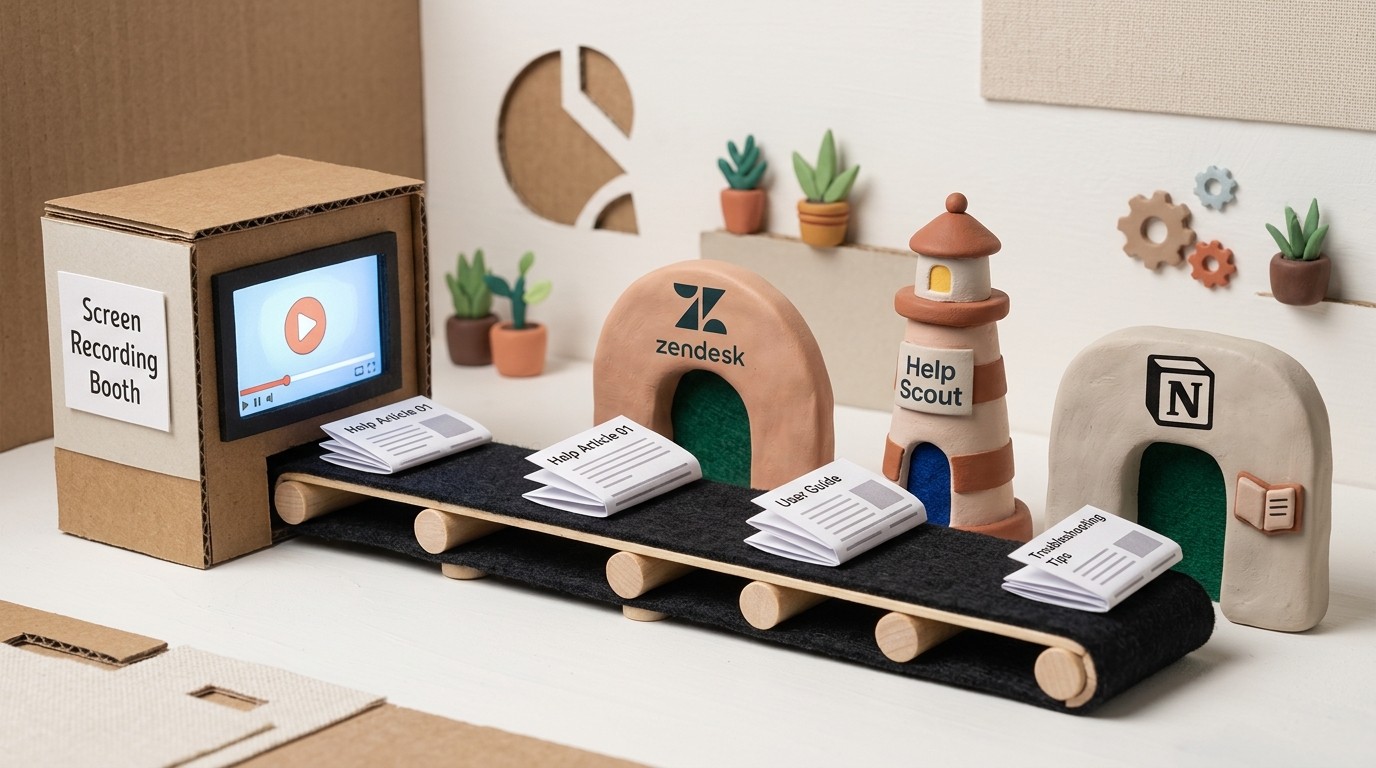
Publish to your help center, embed in your onboarding flow, or share the link directly with customers. For teams managing documentation in Notion, Confluence, HelpScout, Zendesk, or Intercom, Clevera's direct integrations handle the publishing step.
Common mistakes to avoid
Recording with a messy desktop. Before recording, close tabs and apps that aren't part of the walkthrough. A cluttered screen is distracting and unprofessional.
Including too much in one video. A 15-minute product walkthrough video doesn't get watched. Break long workflows into focused 3-5 minute segments.
Skipping the review step. The AI-generated narration is usually good, but always review it. Proper nouns, product-specific terminology, and edge cases sometimes need human adjustment.
Not using LiveSync. If your product changes and your walkthrough embeds are pointing to an outdated MP4, you have a maintenance problem. The HTML embed solves this.
How product walkthrough videos fit into a content cluster
Walkthrough videos work best as part of a broader content system. The walkthrough is what users watch when they need the full picture. The step-by-step help article is what they scan when they need to find a specific step. Both should exist, and with Clevera, both come from the same recording.
For the full context on product walkthrough software options and how they compare, that pillar page covers the landscape. For teams also producing interactive demos alongside walkthroughs, the guide on screen recording to interactive demo is a useful companion.
A product walkthrough video that's current, narrated, and easy to update is one of the highest-leverage pieces of content you can create. Record it once. Keep it current. Let it do the onboarding for you.