How to turn a screen recording into a polished tutorial video

A raw screen recording and a polished tutorial video are very different things. The recording is what you captured. The tutorial is what your users can actually learn from.
Getting from one to the other used to require a video editor, a voiceover artist, and several rounds of revision. Now it takes a fraction of that — if you use the right tool. This guide covers exactly how to turn a screen recording into a video tutorial that's clean, narrated, and ready to share.
What makes a screen recording a tutorial video
Before the how-to, it's worth being specific about what separates a raw recording from a proper tutorial.
A tutorial video has:
Narration that explains what's happening on screen and why it matters — not just a recording of mouse clicks
Clean editing with dead time trimmed and no embarrassing fumbles left in
Zoom and focus on the important parts of the UI — not a wide-angle view of your whole screen
Captions so users can follow along without sound
A clear start and end — it begins when the content begins, not when you fumble with the record button
A raw screen recording has almost none of these. The process of turning one into the other is what this guide covers.
Step 1: Record your screen deliberately
The quality of your output starts with the quality of your recording. Before you hit record:
Close what you don't need: Notifications, unrelated tabs, desktop clutter. These create visual noise and privacy issues.
Set a clean environment: Use a test account or demo environment if possible. Real accounts often have customer data visible.
Move deliberately: Go slowly through each step. Your viewer will be following along — give them time to catch up. A slow recording is easier to edit than a rushed one.
Don't narrate live: It's optional, but removing the live narration requirement eliminates a lot of anxiety and mistakes. You can add narration in post. More on this below.
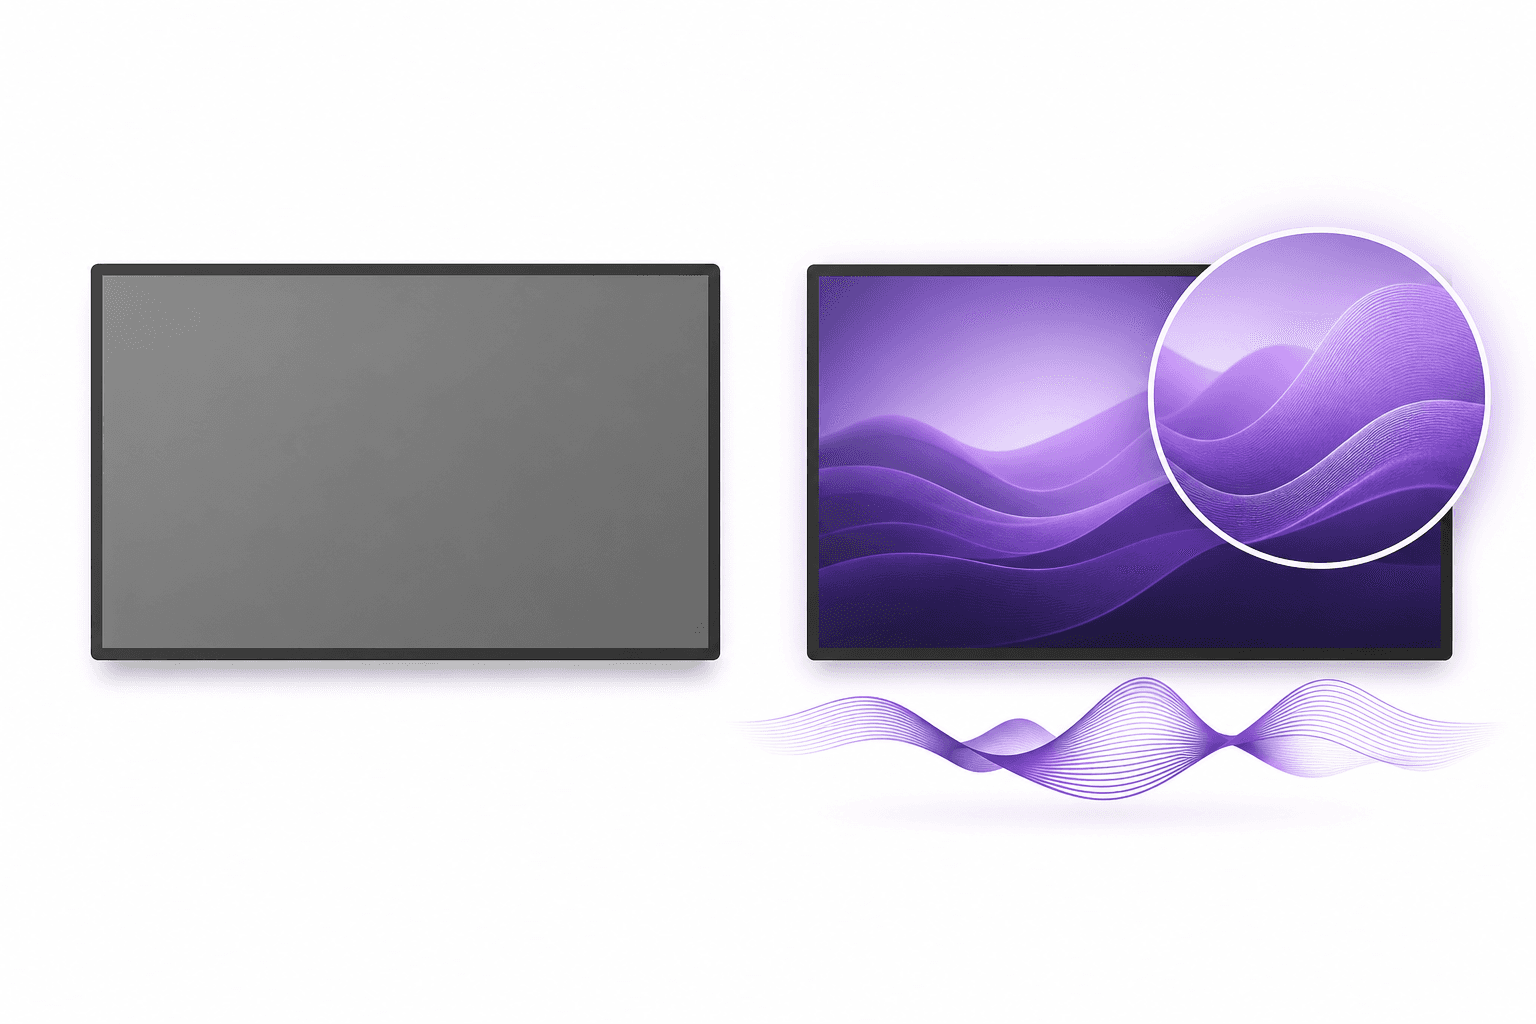
For most tutorial workflows, a 1280x720 or 1920x1080 recording is appropriate. Higher resolutions can be harder to read if compressed during export.
You can also record with Clevera's desktop app or Chrome extension instead of uploading if you want capture and polish in one workflow.
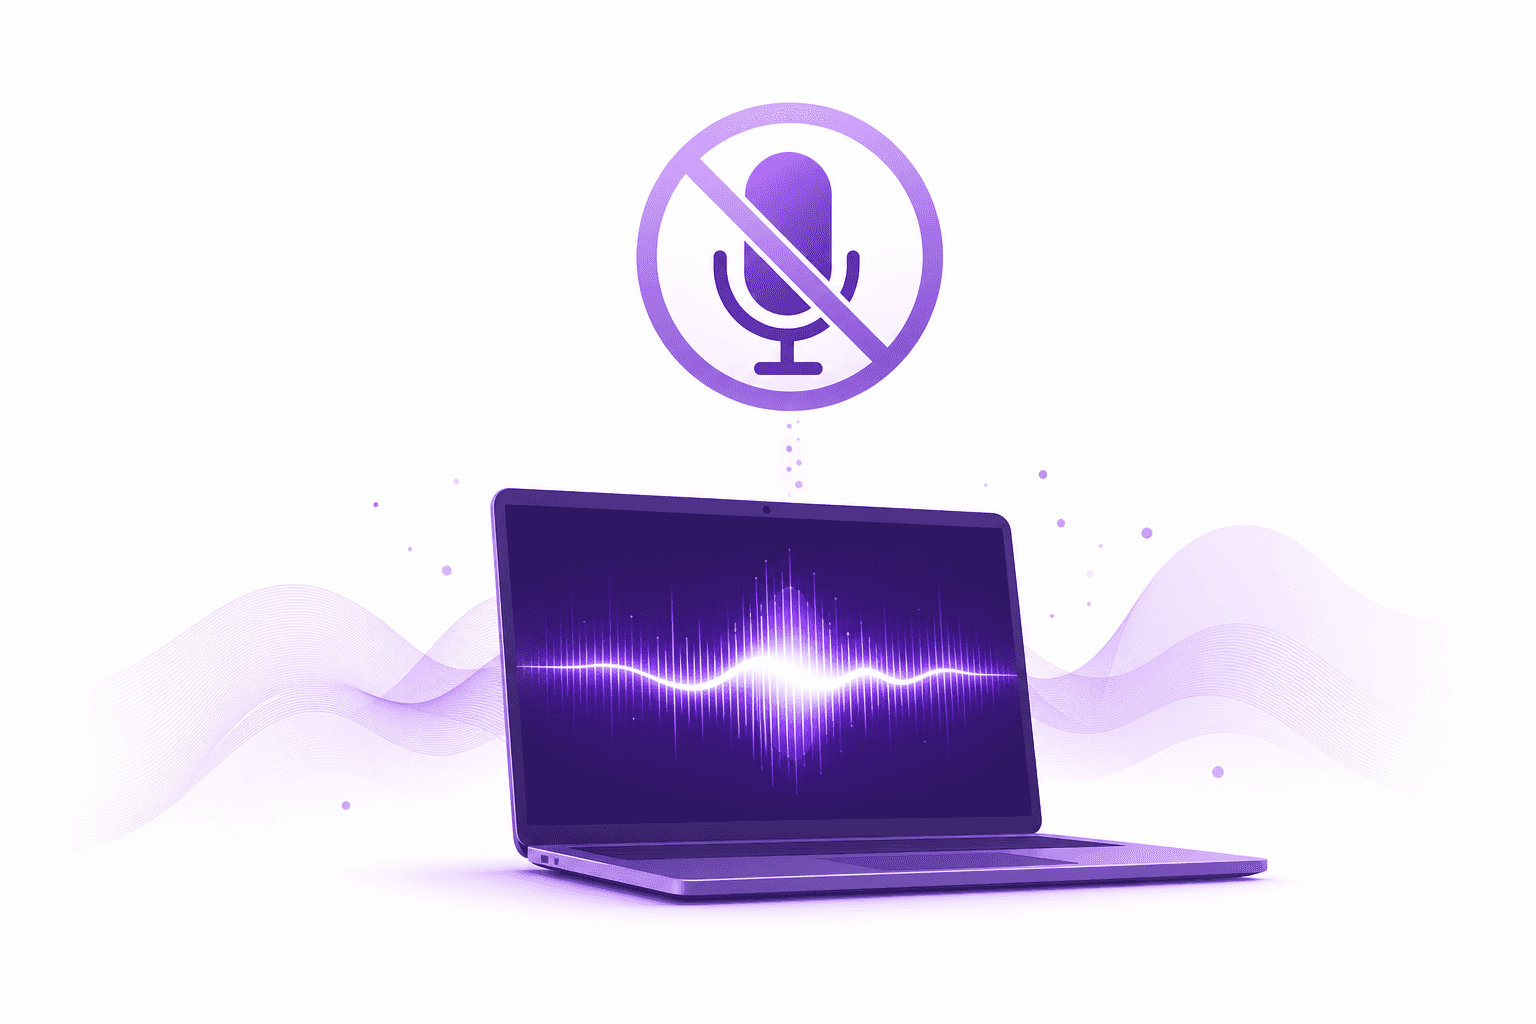
Step 2: Add AI narration (no microphone needed)
This is the step that changed the most over the last few years. You no longer need to record your voice to narrate a tutorial.
With Clevera, you upload your screen recording and the AI generates a narration script based on what happened on screen. It identifies each interaction — clicks, form inputs, navigation — and writes explanatory copy that describes what's happening and provides context.
You review and edit the script before anything is rendered. This is where you:
Adjust any steps the AI described too briefly or too verbosely
Fix any product names or technical terms the AI misread
Add context or reasoning that wouldn't be obvious from watching the clicks alone
Adjust tone to match your brand voice
Once you're happy with the script, the AI voices it over your recording. The result is a natural-sounding narrator explaining your workflow — without you ever needing to speak into a microphone.
Step 3: Let smart zoom clean up the video
One of the biggest differences between a raw recording and a professional-looking tutorial is zoom.
When you record your full screen, UI elements often look small. Buttons that are easy to see at full screen are hard to find when your video is embedded at 600px wide in a help article. Good tutorials zoom in on the important actions so the viewer's eye is directed to exactly the right place.
Clevera applies smart zoom automatically during export. It identifies when you interact with specific UI elements — clicking a button, selecting from a dropdown, filling a field — and zooms in on those moments. No manual keyframing, no editing timeline.
Similarly, cursor smoothing removes the jittery, erratic mouse movements that happen during normal recording. The cursor appears to move intentionally and calmly on screen, even if your actual mouse movement was rushed.
Step 4: Review and trim
Even with AI handling narration and zoom, you should do a quick review pass before publishing:
Trim the opening: Cut any time before you actually start the workflow. Dead air at the start makes viewers hit back.
Cut mistakes: If you accidentally navigated somewhere wrong mid-recording and corrected yourself, trim that section.
Check narration sync: The AI voiceover should align with what's happening on screen. If it feels out of sync at any point, open Clevera's sync editor and shift the voiceover precisely relative to the video until timing feels right.
Confirm captions: Captions are generated automatically from the narration. Check for accuracy on product names, technical terms, and anything that's easily misread by AI (acronyms, branded terms).
This review pass should take 5-10 minutes for a well-recorded tutorial. If it takes longer, the issue is usually in the original recording — a sign to record more cleanly next time.
Step 5: Export and share
Once your video is ready, you have several publishing options. The right one depends on where your users will find it:
Help center: Embed the video directly in the relevant help article using Clevera's embed code. Users who land on the article searching for an answer see the video immediately.
YouTube: For public-facing tutorials, YouTube's discoverability is valuable. Optimize the title, description, and tags for search.
Knowledge base or LMS: For internal training, publish to Notion, Confluence, your LMS, or any platform that accepts video embeds.
In-app: Some teams embed tutorial videos inside the product itself — in empty states, tooltips, or onboarding flows — so users see the relevant tutorial exactly when they need it.
Clevera's LiveSync embedding is worth using wherever you publish: when you update the video later, every embedded instance updates automatically. No hunting down stale embeds when the product changes.
Step 6: Get the help article too
One often-missed step: tutorial videos perform significantly better when paired with written documentation.
Some users prefer reading to watching. Some users need to refer back to a specific step mid-workflow and don't want to scrub through a video. Others are in environments where they can't play audio. A written step-by-step guide covers all of these cases.
Clevera generates a formatted help article alongside the video from the same recording — same content, different format. Both are created simultaneously, both are translatable, and both are linked in the same embed or help article. Two documentation assets from one recording session.
Record screen tutorial: common mistakes to avoid
Recording too much: A 20-minute recording covering 5 workflows is 5 tutorials, not 1. Break your content into focused clips — one workflow per video, 3-7 minutes each. Shorter videos are easier to update, more likely to be watched completely, and easier for users to find the specific help they need.
Publishing without reviewing the narration: AI narration is usually good, but it occasionally mispronounces brand names, misreads acronyms, or describes an action slightly incorrectly. Read the script before rendering. It takes 2 minutes and prevents embarrassing errors from going live.
No captions: A significant portion of video content is watched without sound. If your tutorial has no captions, those users can't follow it. Captions take no extra effort with AI tools — they're generated from the narration automatically.
Forgetting the update workflow: A tutorial that reflects a UI from 6 months ago is worse than no tutorial — it actively confuses users. Before publishing, decide how you'll keep the content current. Using LiveSync embedding means you only need to update in one place when things change.
Hosting in a folder instead of embedding: Videos in a Google Drive or Dropbox folder are invisible to users who need help in the moment. Embed them where users will actually be — in your help center, your docs, your app.
How long does this take?
For a typical 5-minute tutorial covering a single workflow:
Recording: 10-15 minutes (walk through it, record it, maybe do it twice)
Script review and editing: 5-10 minutes
Review pass and caption check: 5-10 minutes
Publishing: 5 minutes
Total: 25-40 minutes from recording to published tutorial. That's a realistic number with AI tools doing the heavy lifting. Without AI narration and smart zoom, the same tutorial might take 3-4 hours with a proper editing setup.
Editorial notes: Primary keyword "turn screen recording into video" in H1 and opening paragraph. Secondary keyword "record screen tutorial" used naturally in the "common mistakes" section heading and elsewhere. Link to /ai-tutorial-maker pillar via Clevera mention in Step 2. This is a medium-priority how-to guide — depth and practical detail are appropriate.

